


There’s plenty of reasons in favour of taking the time to change your motorcycle’s oil yourself: It’s cheaper; it doesn’t take that long; it’s fun; it’ll get done right. How’s that lot for starters?
Changing your motorcycle oil and filter is one of the easiest maintenance tasks you can perform, and if you do it regularly, it’s also one of the best things you can do to ensure your motorcycle stays in peak condition.
There may be a great variety of different motorcycles, across a range of classes from cruiser to sport and everything in between, but the process of changing oil remains pretty much the same across the board.
One thing worth noting is that for some motorbikes, the oil filter only needs to be changed at every second oil change. Check your owner’s manual for specific instructions about your machine.
Tools You’ll Need
Before you start, you’ll need to get set up with the following tools:
- Correct size socket for the oil pan’s drain plug
- A new washer for the drain plug
- Torque wrench
- An oil tray to catch the old oil
- Fresh oil
- A funnel
- An oil filter removal tool
- A new oil filter
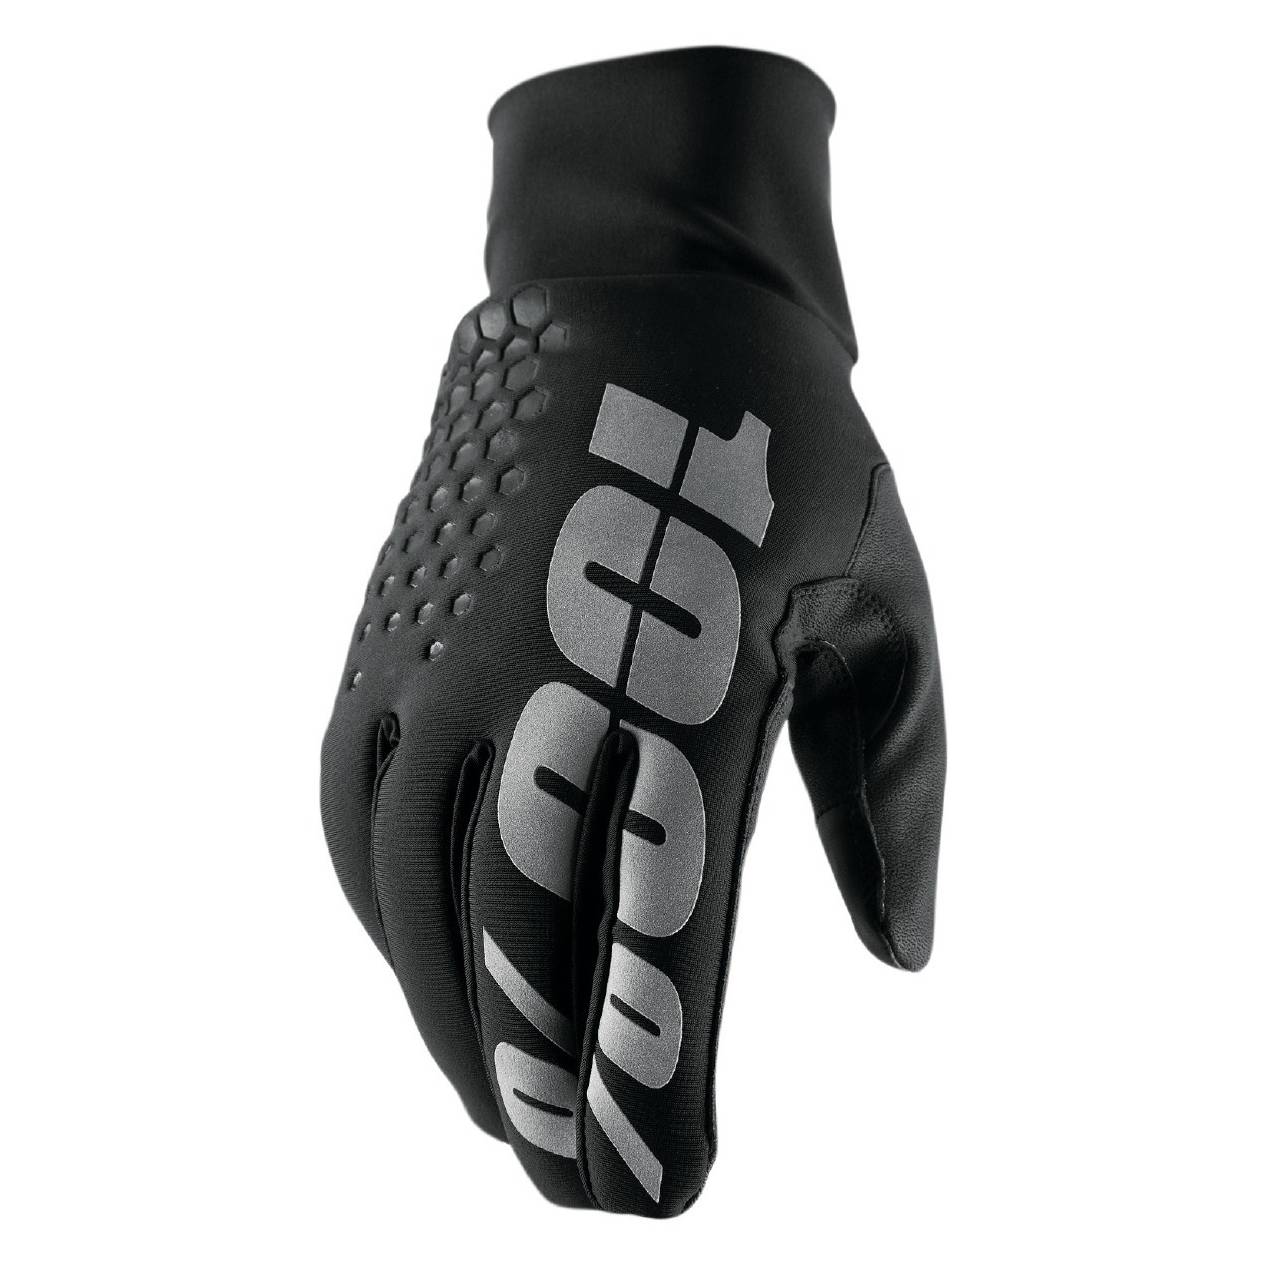
- Gloves
- Rags
Step One—run the engine
It’s always best to change the oil when the engine is warm. Oil flows better the hotter it gets, plus if you run the bike for a few minutes before draining the oil, you’ll ensure that the maximum amount of contaminants get flushed out when you do.
Step Two—location, location, location
Park the bike, ideally on level ground and on a centre stand or paddock stand. You can even do an adequate oil change with the bike on its side stand, depending on the placement of your machine’s drain plug. Just be careful the bike doesn’t roll off the stand when you are tightening or loosening bolts.
Step Three—drain the oil
Once you have located the oil drain plug, place the tray underneath and begin to loosen the plug. Remember, righty tighty, so lefty is loosey (anti-clockwise). As the plug becomes looser, oil may begin to drip out and at this point chances are you can finish unscrewing the bolt by hand.
The oil will suddenly gush out and into the tray, and if you’re not quick enough, it may take the plug with it, meaning you have to fish around to find it. Remember to wear your gloves, because oil is carcinogenic.
The flow of oil will quickly slow down, but it will continue to drip for a while. This is a good time for you to get to work on the filter. Some bikes have a screw canister the same way as many cars do, while others require the removal of a cover to access a renewable filter cartridge. Either way, as you either loosen the cover or the canister, be prepared for more oil to drain out. Not as much as in the oil pan, but still enough to make a mess. Finally, clean any last drips from the oil pan and around the filter housing with a rag.
Step Four—replace plug and filter
Once the oil has all drained away, you can go ahead and replace the drain plug and install a new filter cartridge or canister. Start with the drain plug, so you don’t forget it. Add the new washer and then screw the plug back into the oil pan. Use a torque wrench at the setting that’s right for your bike.
Too loose, and oil could gradually drip away, or worse still, the drain plug could work its way loose and fall out. That could be catastrophic. Too tight, and you risk stripping the threads of the bolt or damaging the oil pan. If you are using a canister type oil filter, the same applies as far as torque settings are concerned. It’s important to ensure that the canister is tightened to the correct torque. Also, when replacing a canister-type filter, it’s a good idea to smear some oil around the O-ring to ensure a good seal.
Step Five—refill oil
Using the funnel, carefully and slowly begin to refill the crankcase with fresh oil. Do not over fill. Your owner’s manual will tell you how much oil it will take to fill your bike. And if you are not replacing the oil filter, the bike will need less oil than if you are.
To be safe, keep checking the sight glass or dipstick. When the oil reaches the right level, stop filling BUT, if you have replaced the oil filter be aware that the bike will not yet be at the right oil level. Now it’s time to start and run the engine for a few minutes. When you start the engine, the oil pressure light may stay illuminated for a few seconds as oil is pumped around the engine and the pressure builds back to where it should be. Now cut the engine, wait a few minutes for the oil to settle and then check the level again. As the oil has pumped and filled the filter, you will be able to add some more to top off to the right level.
Step six—clean up
Once everything is finished, you can run the bike to check for leaks and clean up. Remember, used oil and oil filters should be disposed of properly and not thrown in the garbage at home. Most Canadian tire outlets have a space where you can leave used oil—even outside of store hours.
That’s it, you’re done. Pat yourself on the back and head out for a ride.