When to Replace a Motorcycle Chain
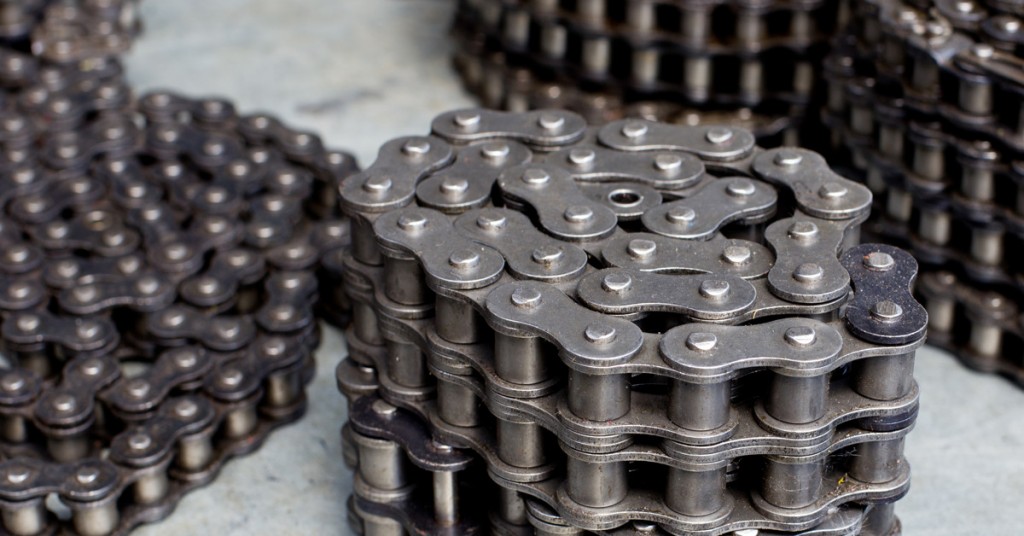
There are a few ways to tell when your chain is nearing retirement. First, if it is very frequently loose and needing adjustment, you should probably replace it.
Another test is to try and pull the chain off the rear sprocket right at the back of the bike. If you can physically pull the chain away from the teeth of the sprocket and expose a large gap, then your chain is probably near the end of its life.
The most accurate way to check if your chain needs replacing is to use the service limit guide, which gives the total allowable length of a certain number of links. For example, on the 2014 ZX-14R, the total allowable length of 20 links is 319mm (12.56 inches). If that length is exceeded by 20 links, then it means that the chain has stretched beyond a safe level. It needs to be replaced.
To check this measurement for your chain, you can either turn out the adjustor nuts until the chain is taut, or hang a 10 kg weight from the lower run of the chain. Then, measure the total length of 20 tight links. Your bike’s owner’s manual will give you the upper limit for length. It’s best to measure in a few places to ensure you get the most accurate results. If your chain is beyond the limit, replace it.
How to Replace a Motorcycle Chain
Make sure the bike is stable on its center stand or a race stand. Gather the parts and tools you’ll need: A new chain and front and rear sprockets (it’s always best to replace the sprockets when you replace a chain, as pairing a new chain with worn sprockets will increase the speed of wear on the new chain and shorten its lifespan); automotive rubber gloves (it’s a dirty job); a chain breaker and riveting tool; sockets and breaker bar for the rear axle and sprockets; torque wrench; new cotter pin.
Removing the Old Chain and Sprockets
Step 1: Remove the gear shifter (if necessary) and front sprocket cover (remember to mark the exact position of the gear selector, so you can put it back in the same place at the end of the process). You may also need to remove the clutch cable to get access to the front sprocket nut.
Step 2: Loosen the front sprocket nut. This can be a tough nut (excuse the pun) to crack. Make sure you know which way the nut on your machine is supposed to loosen (some can be a reverse thread). This nut is usually really tight, and you need to stop the rear wheel from turning. Placing an object between the rear wheel and the swing arm (crowbar, hammer) is one way to keep everything from turning, and getting a friend to apply the rear brake helps, too. Once everything is locked down nice and tight, you should be able to exert the force required to get that nut undone.
Step 3: Break the chain. Use a chain breaker tool to pop a rivet on a chain link (except for clip-style master links, which can simply be clipped off). Push out the pins and remove one link to break the chain. Remove the chain from the sprockets.
Step 4: Remove the rear axle nut, loosen off the chain adjustor locknuts, push out the rear axle and remove the rear wheel.
Step 5: Remove nut from the front sprocket and loosen and remove the rear sprocket nuts. Take off and discard the old sprockets.
Installing the New Chain and Sprockets
Step 1: Install the new front and rear sprockets, and torque the nuts to factory settings.
Step 2: Replace the rear wheel and hand tighten the rear axle nut.
Step 3: Feed the new chain around the sprockets.
Step 4: Attach the master link, using a chain-riveting tool (except for clip-style master links). Remember to ensure that the O-rings are in the right place, and that you use the provided lube to grease the master link. Also make sure that the rivets through the link pin are properly flattened and will not come undone (except for clip-style master links).
Step 5: Replace front sprocket cover and gear shifter.
Step 6: Adjust chain to the correct tension and wipe down to remove excess grease.
Step 7: Tighten rear axle to factory setting and replace cotter pin.


