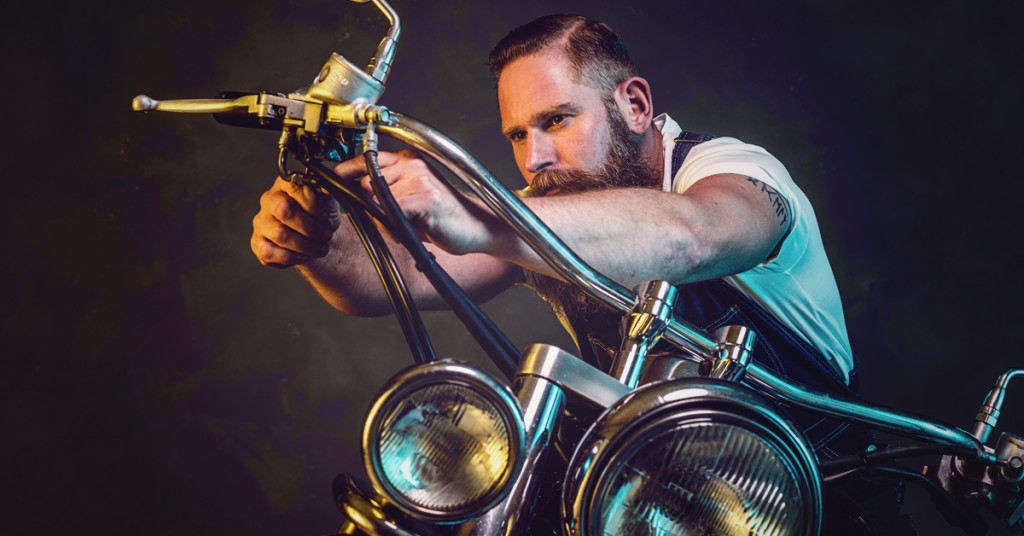
Ready to install your shiny new bars? Good, grab the tools you’ll need and let’s get started. Oh, and don’t forget the glass cleaner and hairspray.
The tools you will need to remove and install handlebars will vary slightly from bike to bike, but usually you’ll need:
- Hex (Allen) or Torx keys for the handlebar clamps
- Flat-head and Phillips screwdrivers
- Box cutter or razor blade
- Glass cleaner
- WD40
- A good quality degreaser
- Hairspray (preferably firm or extra-firm hold)
- Compressor and air tool (optional)
- Socket set
When you have all the tools organized and some space in your garage to work, it’s time to get started. Just follow these simple steps:
Step 1: Remove grips, bar ends and mirrors from the old bars
If you plan on reusing the bar ends, mirrors and grips from your old bars on the new ones, then you first need to remove them. Mirrors and bar ends are easy enough, so go ahead and get that done. When it comes to removing the grips, however, this step can either go real easy or be a nightmare.
If you have access to a compressor and an air gun, this is the best place to start. Push the nozzle of the air gun underneath the inside end of the old grip and start shooting air. Sometimes, this is all you’ll need. The grip will lift away from the bar and you can wiggle it off. If you don’t have access to compressed air, this is where the glass cleaner comes in handy.
Using a flat-head screwdriver, pry up the edge of a grip and liberally spray glass cleaner inside. The cleaner acts as a bit of a lubricant when wet, but it doesn’t stay slippery. After spraying in the cleaner, wiggle and twist the grip until it starts to move and then you should be able to gradually work it from the bar.
If the glass cleaner doesn’t work, then try the WD40. Remember, though, WD40 is an out and out lubricant, so once you get the grip off, your gonna want to degrease the bar or the new grips may twist around after they’ve been installed, especially in hot weather.
If the WD40 doesn’t work either, then chances are you’ll have to resort to a razor blade or knife and cut the old grip off. If you have to do it this way, be careful not to damage the old bars too much in the process. You never know when you may want them again.
Step 2: Loosen/remove the controls
Again, depending on the machine, you may need a screwdriver or a socket or a combination of the pair to loosen the throttle and brake-housing clamps on the right side, and clutch on the left.
If you have removed the grips to reuse them, you might not need to completely remove the screws or bolts from the clamps and risk potentially losing them, as the controls may slide right off the bars once loosened.
If you do have to remove them, remember which order they go in as some clamps use two screws or bolts of different lengths. You may also have to remove the throttle cable or clutch cable in order to remove the controls, but before you do that, take a look at step 3
Step 3: Loosen and remove bar mounts and old bars
Loosen the clamps holding the handlebars in place, taking note of how they are set up, so you can put them back the same way. Now, to help you maybe remove controls without having to remove cables, turn the bars either to the left or right and see if that helps produce enough slack on one side to allow you to remove one control cluster.
If so, go ahead and remove it and then remove the other one. Of course, this tip is pointless if you are moving to higher bars that will require either cable extensions or new cables altogether.
Step 4: Install new bars
Centre the new bars and then replace the clamps, but don’t tighten down just yet. Remember also to use the ability to twist the bars to get the controls on first if it helps.
Sit on the bike and make sure that everything is pointing the right way and feels comfortable. Now reinstall the controls if you haven’t already and torque the clamps holding the bars in place to factory settings.
Install the original or replacement grips, bar ends and mirrors. This is where the hairspray comes in handy. To help you slide the grips into place, spray the bars (and a little inside the grips) with the hairspray. It goes on wet, which will help you slide the grips into place, but then it dries nice and sticky to keep those grips securely in one place.
Finally, do a last check to ensure that everything is right where it should be and properly torqued down. Remember, this is the handlebars, so it’s kinda important that everything is bang on.
And that’s it, you’re done. Time to head out for a ride and show off those new bars.


