
Motorcycle Winterization Manual
The subject of motorcycle storage is a bit contentious.
Almost every rider has an opinion on the "right" way to put a bike away, so we researched the subject for a few days, then compiled the most relevant information here.
Motorcycle Tools
Apr 11, 2023 — For Canadian riders, autumn usually spells the end of another riding season. It also marks the beginning of winter storage.
With heavy hearts, we take our last ride before saying our goodbyes. But it’s not all bad. Even though a part of us wishes we could fast forward to the first day of spring, there’s a different sort of fulfillment to be found in maintenance. Besides, you’ll be glad your past self had your back when next season rolls around and everything runs smoothly.
So we polled the office and added a healthy dose of our opinions and stories. The end result is this F9 guide on how to keep Jack Frost’s mitts off your motorcycle.
Step 1: Choose Where to Store Your Motorcycle
The first thing to think about is where your motorcycle will live for the winter months. Now it’s no bear looking for a cave to hibernate, so obviously you’ll want somewhere safe and secure. Someplace warm might help, too. Let’s break down the most common options:
Home Garage
This is the simplest and cheapest solution, under one condition: you have to actually have a garage, or access to one. If you do, you’re one of the lucky ones!
Motorcycle Dealership or Repair Shop
Many motorcycle dealerships and repair shops will store motorcycles over the wintertime for a fee. Some facilities will even offer "freebies" — such as a motorcycle cover — which you get to keep once the storage session is over. This is a great option if you want to leave your motorcycle in the hands of a professional and save some space at home. The biggest downside is that you won't have easy access to your bike, so forget about any winter projects you might have in mind.
General Secure Storage Facility
Most cities and towns have general storage facilities where you can rent a space. Some facilities simply offer outdoor lock-ups, while others offer a range of indoor and outdoor spaces priced per square foot. This is the most expensive option and since you are renting the space only, you still need to do all the winterization steps yourself.
Our advice: Store it in your garage, heated or not, whenever possible. If you don't have the space, a motorcycle dealership or repair shop that offers a storage service is the next best option.

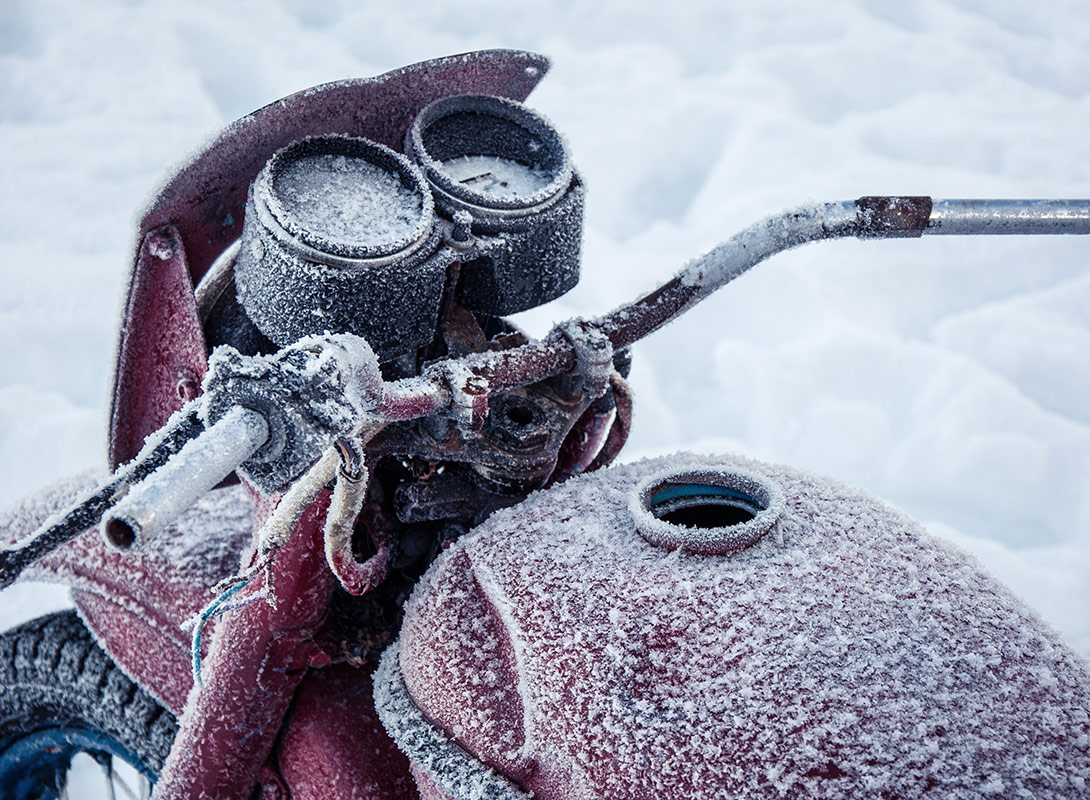
Not quite the view you had in mind, but it's only temporary.
Step 2: Go For One Last Ride
Ah yes, the memorable last ride. It’s finally time to make sure your ride gets the proper send-off.
When you’ve wiped away the tears, it’s also important to remind yourself to top-up the gas tank. Some will then pick up some fuel stabilizer, though this might not even be necessary (more on this below).
Plus, now that the engine has had a chance to warm up, you can let it cool down a bit and get that oil change over and done with.
Step 3: Top Off Gas; And Do I Add Fuel Stabilizer?
The first part is pretty self-explanatory. As for the latter, we ran the EPA registry for every additive they can legally put in your gas. Like a dog park after the snow melt, there's a lot of shit. And you can be sure there’s a pile with your shoe’s name on it.
The culprit’s name? Ethanol... or Ethanolways ruining my spring — as we like to call it.
Modern gasoline is usually partially ethanol. This additive boosts octane numbers while reducing emission levels, thus keeping our collective hand out of Saudi Arabia's pants. When it comes to storage, however, these benefits are the reason bikes turn up dead in the springtime.
Ethanol absorbs moisture from the air, and we needn’t tell you what a layer of water inside your tank all winter will do. If you can fill your tank with ethanol-free gas, do that, and don’t worry about the rest.
If our little mad experiments here at F9 taught us anything, it’s that fuel stabilizers don’t generally help, and they could even be harmful. Think about it, if there were some magic potion that made ethanol gas good, it would be included in the million additives already in your fuel. The only exceptional benefit is oxidation protection, and how effective this is will be largely depend on the product you are using.
We took the time to compare and contrast 6 popular stabilizers. More on our findings here:

Step 4: Change the Oil and Filter
Now even though Steely Dan refuses to do your dirty work "no-mo," you can just do it yourself. The first in our list of greasy tasks is of course the all-important oil and filter change.
Yes, we know that you’re not going to be riding again till spring; that’s exactly why we need to get the old oil out. Used oil can turn acidic, causing corrosion from the inside out.
Some riders will change the oil again before riding in the spring. We think this may be overdoing it a little, but we would consider riding fewer clicks before making the first springtime oil change.
Make sure you tighten the filter and drain plug properly, just so you don’t get any unwanted drips on your floor over the winter. And remember to change out gaskets/drain plug bolts/washers if needed.
Step 5: Wash & Wax On, Wax Off
Cleaning your bike before storage and imitating the Karate Kid is far more important than you think.
Washing ensures that you get rid of all the dirt, bugs and other contaminants that will degrade the finish of metal and plastic parts over time. Once you're done, applying wax will help you rekindle with childhood nostalgia, and protect your bike from minor scratches and moisture.
Step 6: Clean and Lube the Chain
If you own a chain-driven bike, you'll need to clean and lube the chain before storing the motorcycle. This is especially important if you've just washed it. Sure, you’ll get all greasy again, but better this than a bunch of rust waiting for you next season.
Having a motorcycle stand helps here, though there are several ninja tactics that can allow you to complete the job in no time. For example, we have done this by pivoting the bike on the side-stand, and simply turning the rear wheel before applying more chain lube. If you have the space, you can also just walk the bike.
Step 7: Wheel and Tire Care
Sometimes chain lube manages to find its way onto the rear tire, so we suggest leaving wheel and tire cleaning until last. A little kerosene on an old, clean cloth works wonders to clean both wheels.
Some folks suggest deflating tires prior to long-term storage, but we say leave them at spec or put in a little more air to decrease the possibility of flat spots. And this is probably safest. Imagine if you forgot to re-inflate the tires in your springtime excitement? That could either be a very short first ride, or a very fun one at that.
You can also place some cardboard under the tires, and move the bike slightly once in a while. Now if you have front and rear stands, you can just laugh as you read this, and skip all of the steps above by propping the bike up.
Step 8: Parking and Battery
The colder the climate, the faster a battery will discharge. And if you have a newer bike with a clock or alarm system, this could further contribute to your springtime woes.
The best way to keep your motorcycle alive is to ride it periodically. Starting it won’t be enough, you’ve got to heat it up adequately for moisture to evaporate and for the battery to charge back up. Of course, this necessitates clear roads and civilized temperatures, both of which are rare in wintertime Canada.
If your motorcycle is definitely out of action for a few months, we suggest taking the battery out, and giving it an inspection while you’re at it. Terminals can get that nasty coating of green/blue copper sulfate that, if left too long, will ruin your contact point. You can get the terminals and posts clean with fine sandpaper or a wire brush and a little brake cleaner.
Coat everything with dielectric grease to inhibit further corrosion. You can use brake cleaner on the battery cover too, or try a mix of baking soda and water applied with a non-metallic brush. A quick blast of WD40 and a wipe dry will ensure that the water or cleaner is displaced afterwards.
Now, as for keeping that battery charged. The difference between a trickle charger and a battery tender is that a trickle charger constantly applies a charge, whether the battery is fully charged or not. On the other hand, a battery tender has circuitry that monitors the battery and charges only when the voltage has dropped below a pre-set level, thus preventing overcharging and all the bad stuff that comes with it.
Because battery tenders apply no strain, they can be connected indefinitely. Conversely, a trickle charger should be disconnected and reconnected occasionally.
Ideally, you need to store the battery above 32°F (0°C). Depending on the situation in your garage, this may mean bringing it inside your home, and cleverly disguising it as a toaster.
Step 9: Muffler and Cover
Work’s almost done, all that's left is to note that the inside of a muffler makes a great winter home for mice, moisture and rust. So be sure to cover the end of your mufflers with taped-down plastic bags or something similar. Next, throw a soft sheet over the bike so as to stop the build-up of dust, and presto you’ve got a winterized bike!
Now you can read it a bedtime story, and start daydreaming about more awesome rides next year. We’ll see you then.
Related Articles

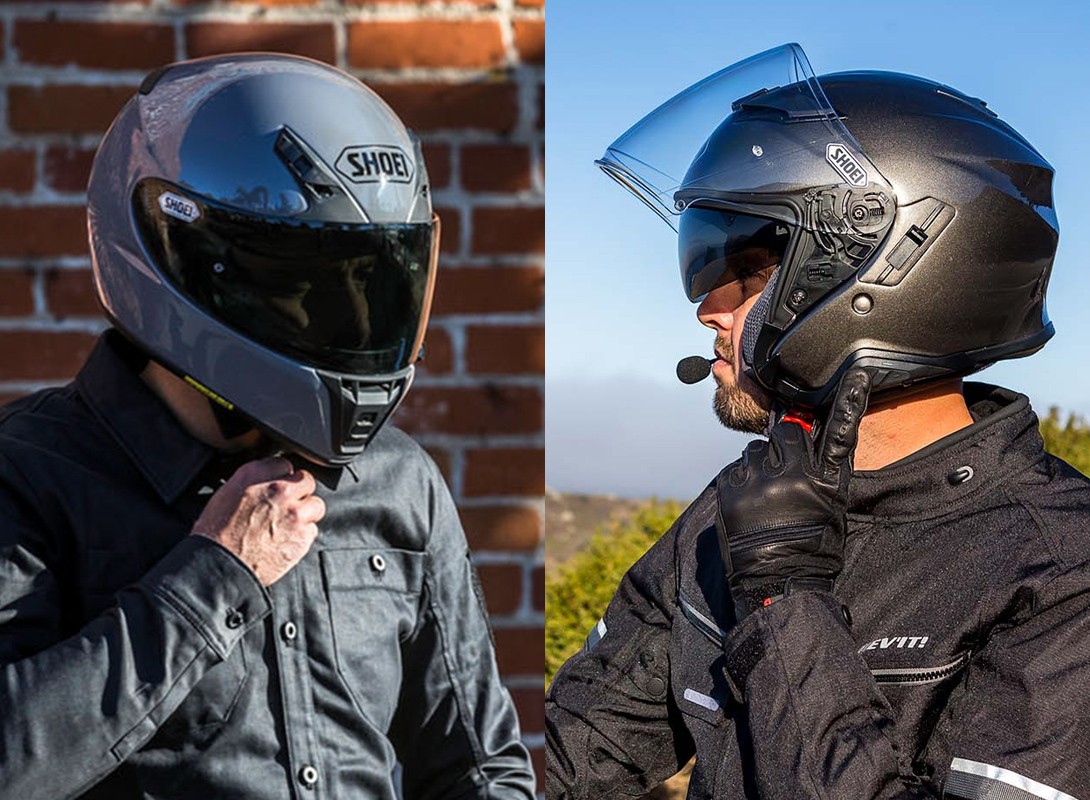
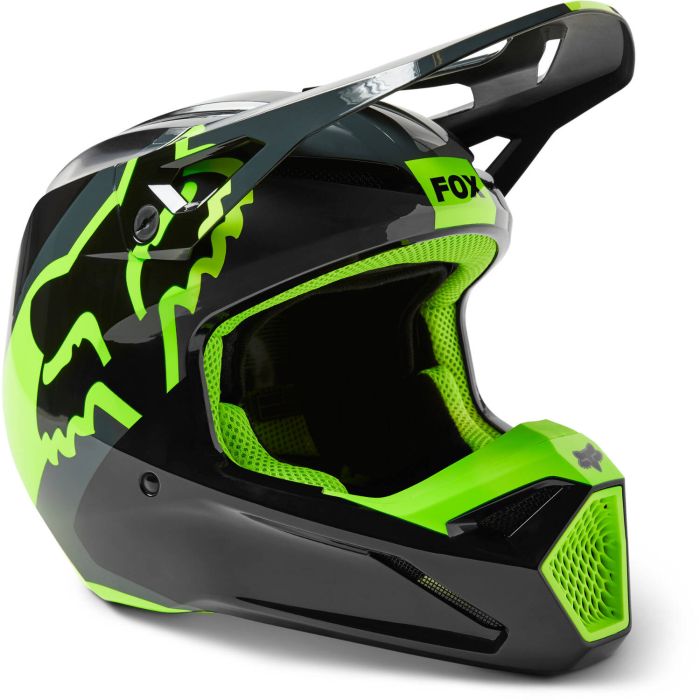
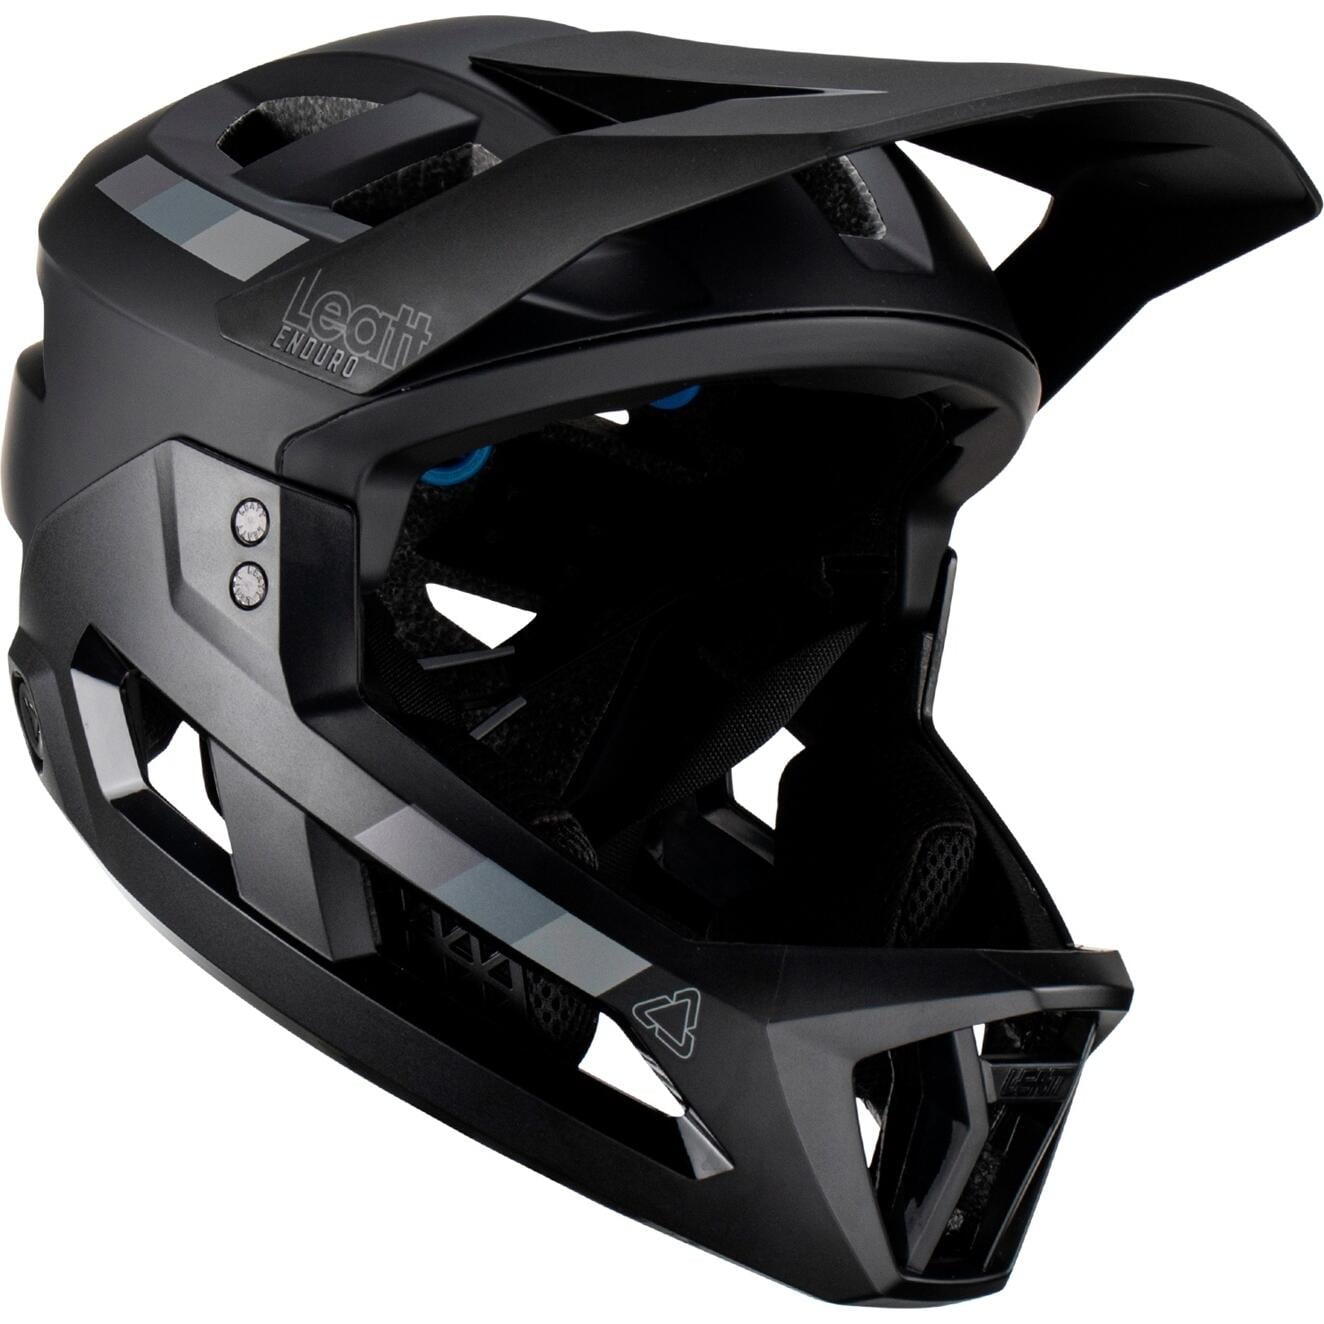
Types of Motorcycle Helmets
There are 6 different types of motorcycle helmets out there. Pick the one that best suits your riding style.

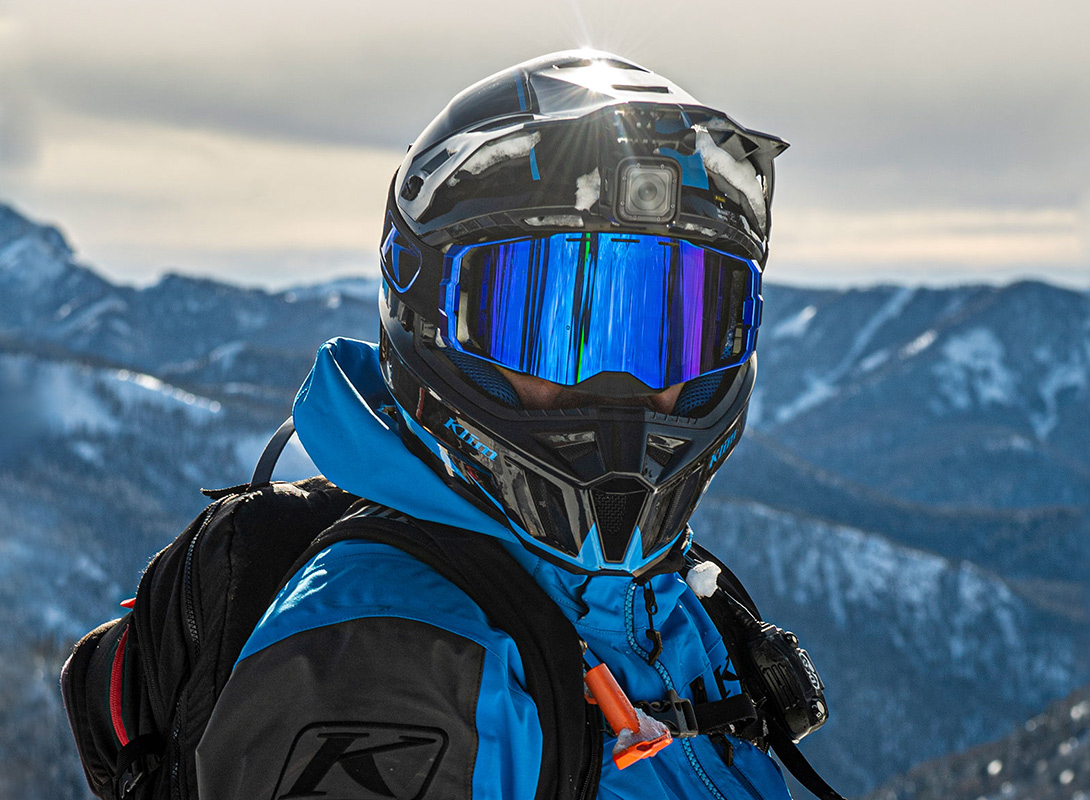
7 Problems & Solutions for Cold-Weather Riding
We've compiled a list of tips and tricks for those daring winter warriors.

How to De-Winterize Your Motorcycle
De-winterizing your bike is the subtle prelude to an epic riding season. Don’t skip it!