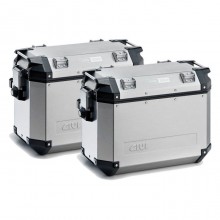
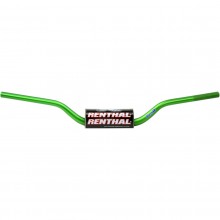
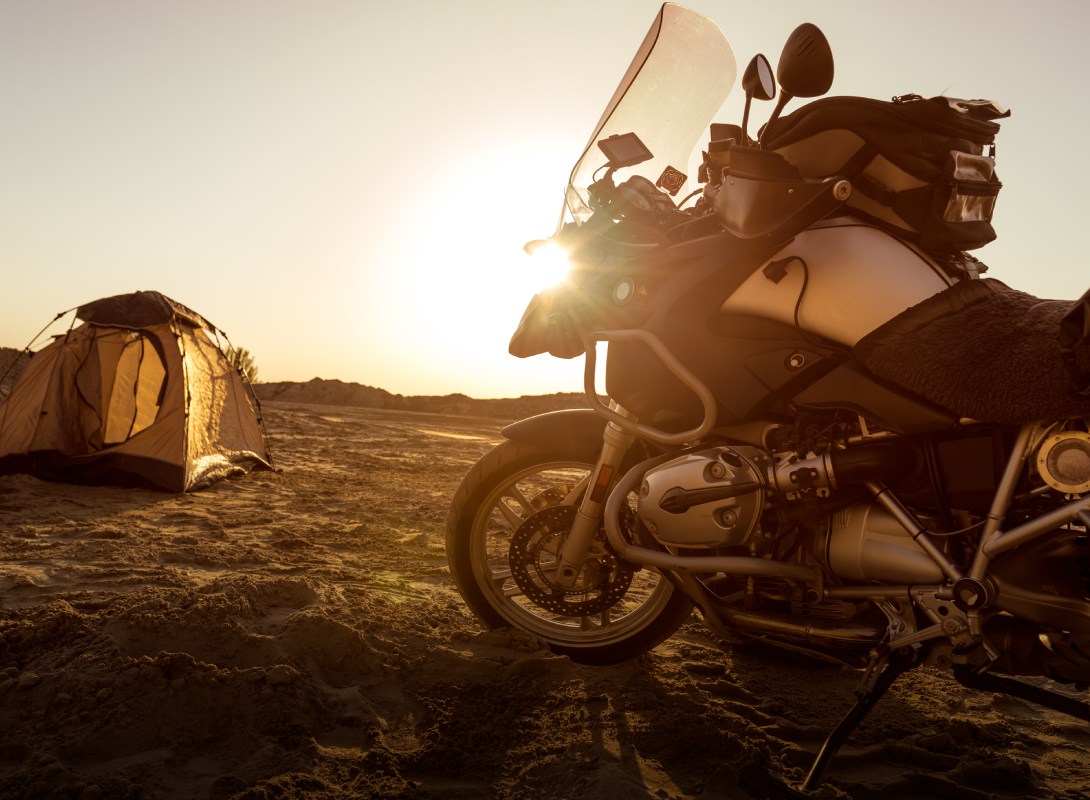
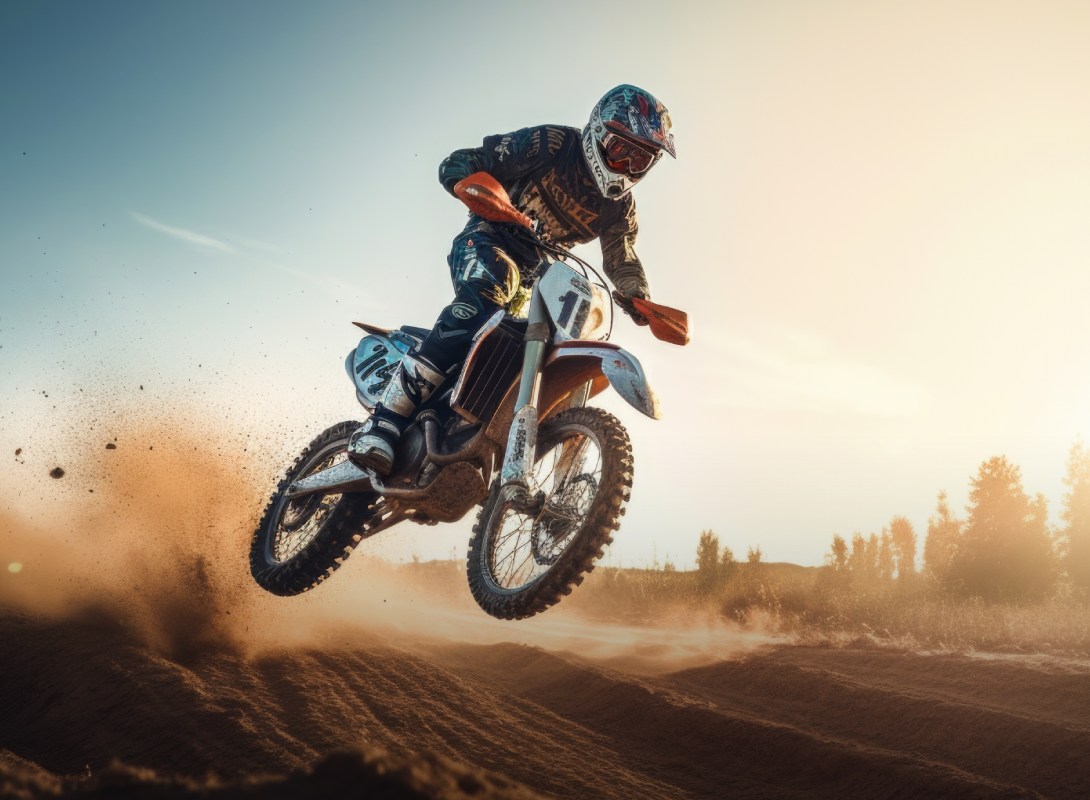
Aug 1, 2023 — You should know right away that this is an accessible list. My choices cost between free and a couple hundred bucks, and they can all be installed by a half-drunk amateur mechanic.

Why? Because most of us are crappier with wrenches than we care to admit. And we’re not that motivated to hit the garage unless there’s beer involved. And who really has the money for suspension rehauls and tailor-made spoked wheels anyway? At that point just buy a different motorcycle.

1. Knobby Tires

We’ve made entire videos on the subject, and an article about them here. Long story short, the bumpier the tire, the better it is on dirt, the smoother the tire the better it is on pavement.

A dirt tire is the single best thing for making your bike handle off-road. Give me a Goldwing on knobbies and I’ll take it to the dunes.

But with great power comes great liability. A knobby tire might get you to that epic rock garden or mud bog, but what happens when you drop the bike?

2. Engine Bars

The answer is... nothing! As long as you have engine bars. These protect your casings, your fairings, your tank… in a perfect world the engine bar will hit the ground before anything else.

Dropping your bike on its side is the most-common off-road oops-a-daisy. For what it’s worth, my first engine bars came stock from Suzuki, but I wish they hadn’t. Far too low to adequately protect my fairing, and the things weigh like they’re cast in iron. Better options come from Puig and SW-Motech.

3. Skid Plate

Also on the topic of engine protection, the skid plate will see the second-most action after your engine bars.

I’m pretty sure my V-Strom has about 2mm of ground clearance. If you’re planning to take a road-oriented bike off-road, you’ll end up feeling the same way. So, be prepared to get hung up on things. A lot. Which is more fun than it looks, so long as you’re not grinding your engine every time you grind to a halt.

4. Radiator Guard

My skid plate also takes a few shots from the front tire, which hurls pebbles backwards at a speed proportional to my right wrist. What’s at more danger from that, however, is my radiator. One sharp rock through it, and the bike will be overheating faster than a Canadian in Kuwait.

Consider installing a steel rad guard the ditch any dinky plastic you might have on already. For the obvious reason that stopping high-speed rocks is not one of plastic's many strong suits.

5. Handguards

Planning to go jousting with the forest? While bashing through trees knuckle-first is sexy, it's not that common. The more likely scenario is that a pair of handguards will save you from snapping a clutch or brake lever when you drop your bike for the millionth time.

I should mention that there’s a dark side to these things. Everybody has a friend of a friend who saw a buddy go over the handlebars, only to get his arms caught between bar and bark buster, coming out the other side with 2 broken wrists.

Personally, I think that’s a fluke-y crash and I’ve never seen it happen. Meanwhile, my handguards have saved my own fingers and levers more times than I can count.

Wrist-breaker or not, I’m keeping ‘em.

6. Footpegs

5 mods down, 5 to go. We’re now transitioning away from the boring protection stuff, and into some nifty little tricks that will make you a dirt god.

Like... footpegs! Simple, but the devil is in the details. Aftermarket pegs are invariably wider than the ones you got from the factory, providing a more stable surface for standing.

The other thing is removable inserts. I still have soft rubber for killing highway vibrations, but I can also have a hard, serrated surface for riding off-road.

Clawed metal won’t get slippery in the mud, nor will it cake up in the dirt. When you’re controlling your bike by pushing your weight around the footpegs, that’s a huge benefit.

7. Bar Risers

If you’re standing on your nice new footpegs, you should also look at bar risers. Odds are your handlebars are a bit low for the standing position… almost every OEM setup is.

When you ride standing up for a while, you’ll get shoulder, back and neck pain from having to hunch over in order to reach your grips. Bar risers will lift your handlebars comfortably within reach.

And they’re a cheap fix — no complex installation, no need to change the bar, usually no need to extend the cables. Just install the riser where the bar used to be, which moves the handlebar up: job done. It’s the motorcycle equivalent of sitting on a phone book.

Now, some deep-pocketed adventure riders will tell you to install a high-rise bar instead of just using risers, since that also lets you move into aluminum and away from your factory steel handlebar. See, aluminum has a nifty elastic quality. For a given hit that might bend a steel bar, an aluminum one can spring back into shape.

In any case, upgrading your bars is good advice so long as you can afford it. Otherwise, just go with risers and replace your handlebar if or when you bend it beyond repair.

8. Sidestand Foot

Our last mod that costs money is this little thing called a sidestand foot — which prevents your sidestand from sinking when you park on soft terrain.

Simple premise — remove 3 screws, sandwich your existing sidestand foot, tighten ‘er back up and you’ve got more surface area for more staying power.

For the DIY-inclined, you might already know that an old hotel key card under your stand works just as well. But it’s annoying to dig through your wallet every time you want to take a trailside break.

9. Clutch & Brake Lever Adjustment

Getting there. Let’s wrap this video up with a couple freebie mods. For number 9, adjust your clutch and brake levers. You’ll typically want them angled a little lower for off-roading.

That makes it easier to cover the levers while standing, since they’ll complement the steeper angle of your arms.

You also want to set a slightly shorter reach for off-roading. That makes it easier to precisely control the lever with 1 or 2 fingers, which is essential on bumpy terrain, since you’ll need the rest of your digits to keep their grip on your grips.

10. Suspension Adjustment

Typically, a rear shock comes with a preload knob. How I adjust this mainly depends on whether I’m carrying a tent and how many doughnuts I ate for breakfast.

Clockwise increases preload for fatter Ryan, counterclockwise decreases preload for skinnier Ryan.

Now, there's also a little thing called the damping screw, which is more directly relevant to off-roading. Bumpier surfaces like softer damping, while concrete surfaces prefer harder damping.

However, damping needs to be tempered by the preload adjustment I already made. Because if I’ve jacked up preload to account for my time at Timmies, I should also err on the firmer side of damping.

The same goes for my riding style. I tend to spend a lot of time airborne, so I always set my compression damping a little higher — or stiffer — just so my suspension doesn’t bottom out. Obviously, this subject is subjective to each ride, rider and riding style. But that’s the basic idea for getting started.

Watch Now | Top 10 Off-Roading Mods For Your Adventure Motorcycle

Thinking of taking your off-roading skills to the next level? Or are you adventure riding beginner looking for some help?

Related Articles

Blank

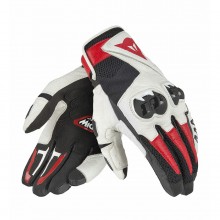
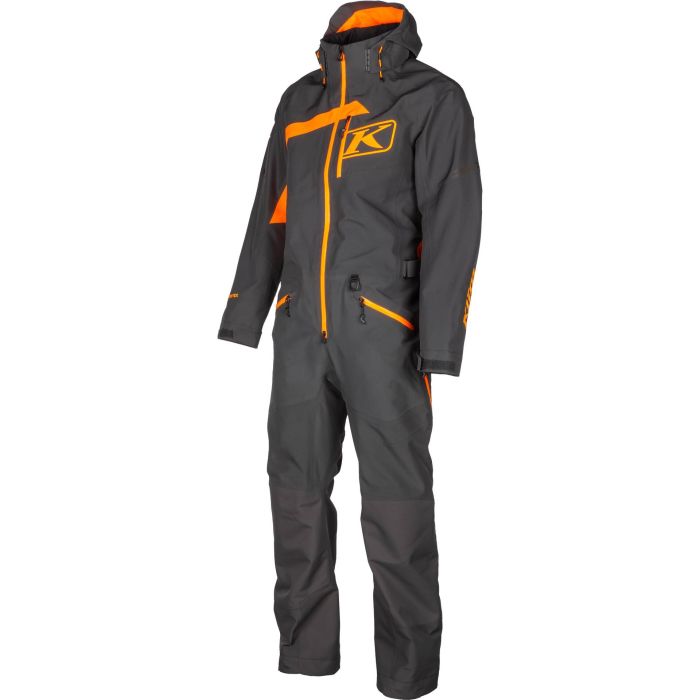
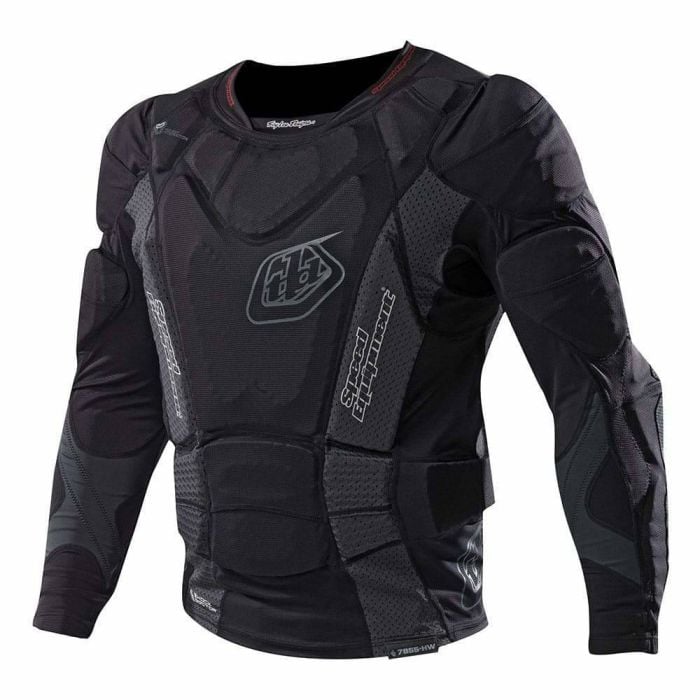
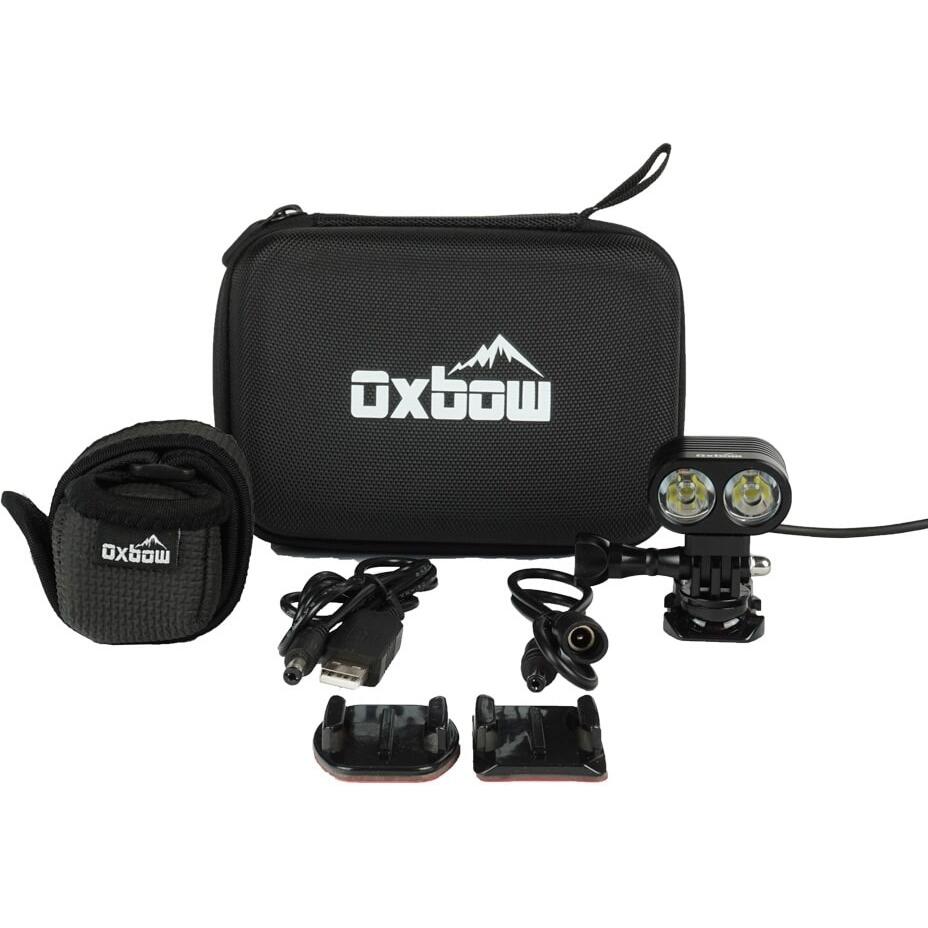
Dirt Bike Gear Guide

Preparing to ride offroad is no simple feat. No BS, here's what you need.

Blank

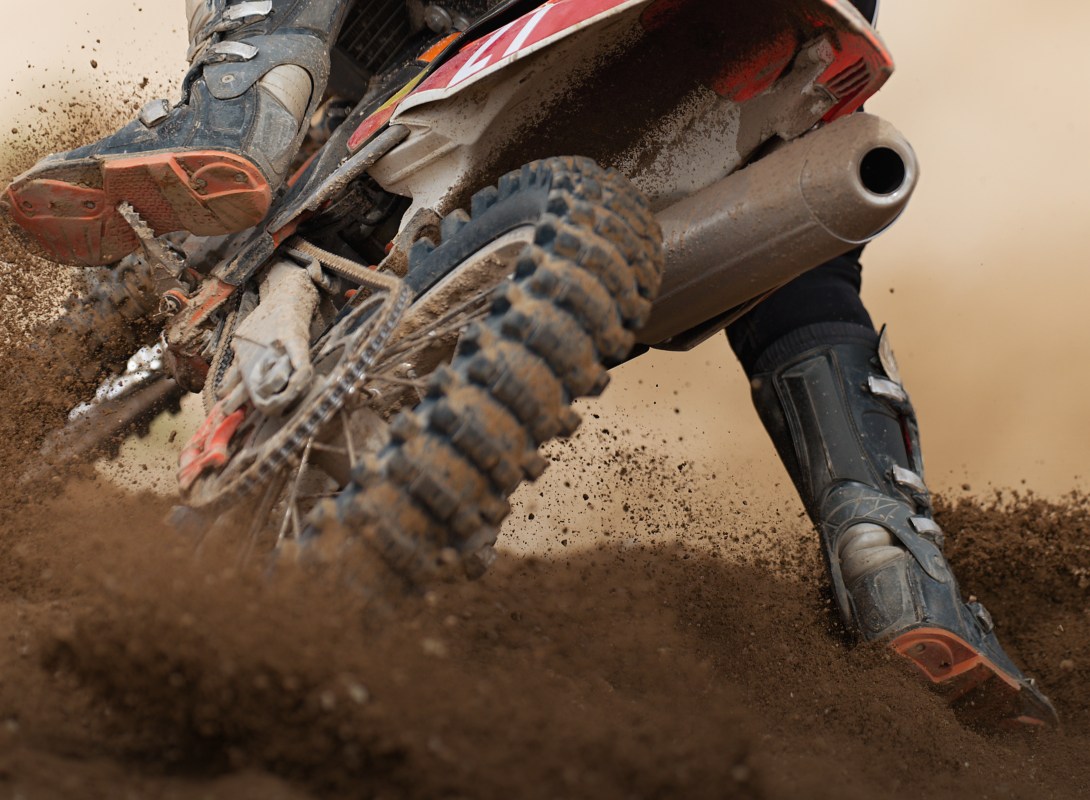
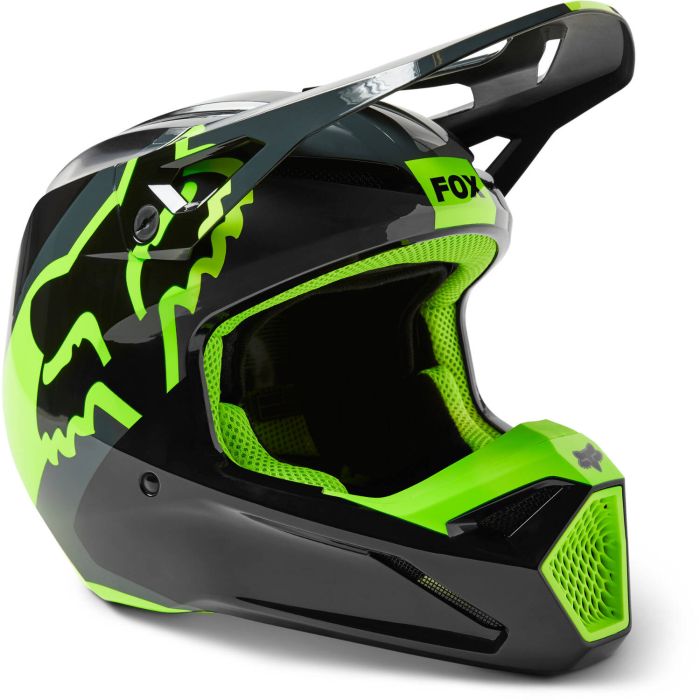
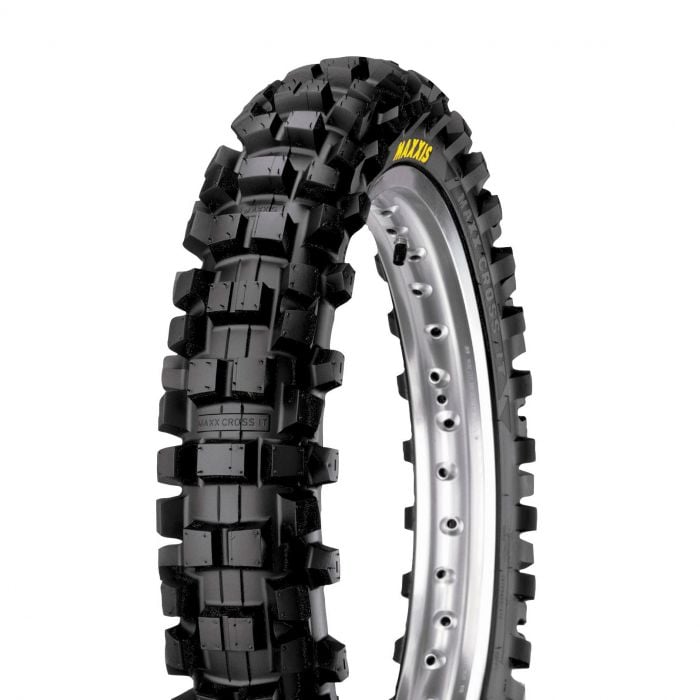
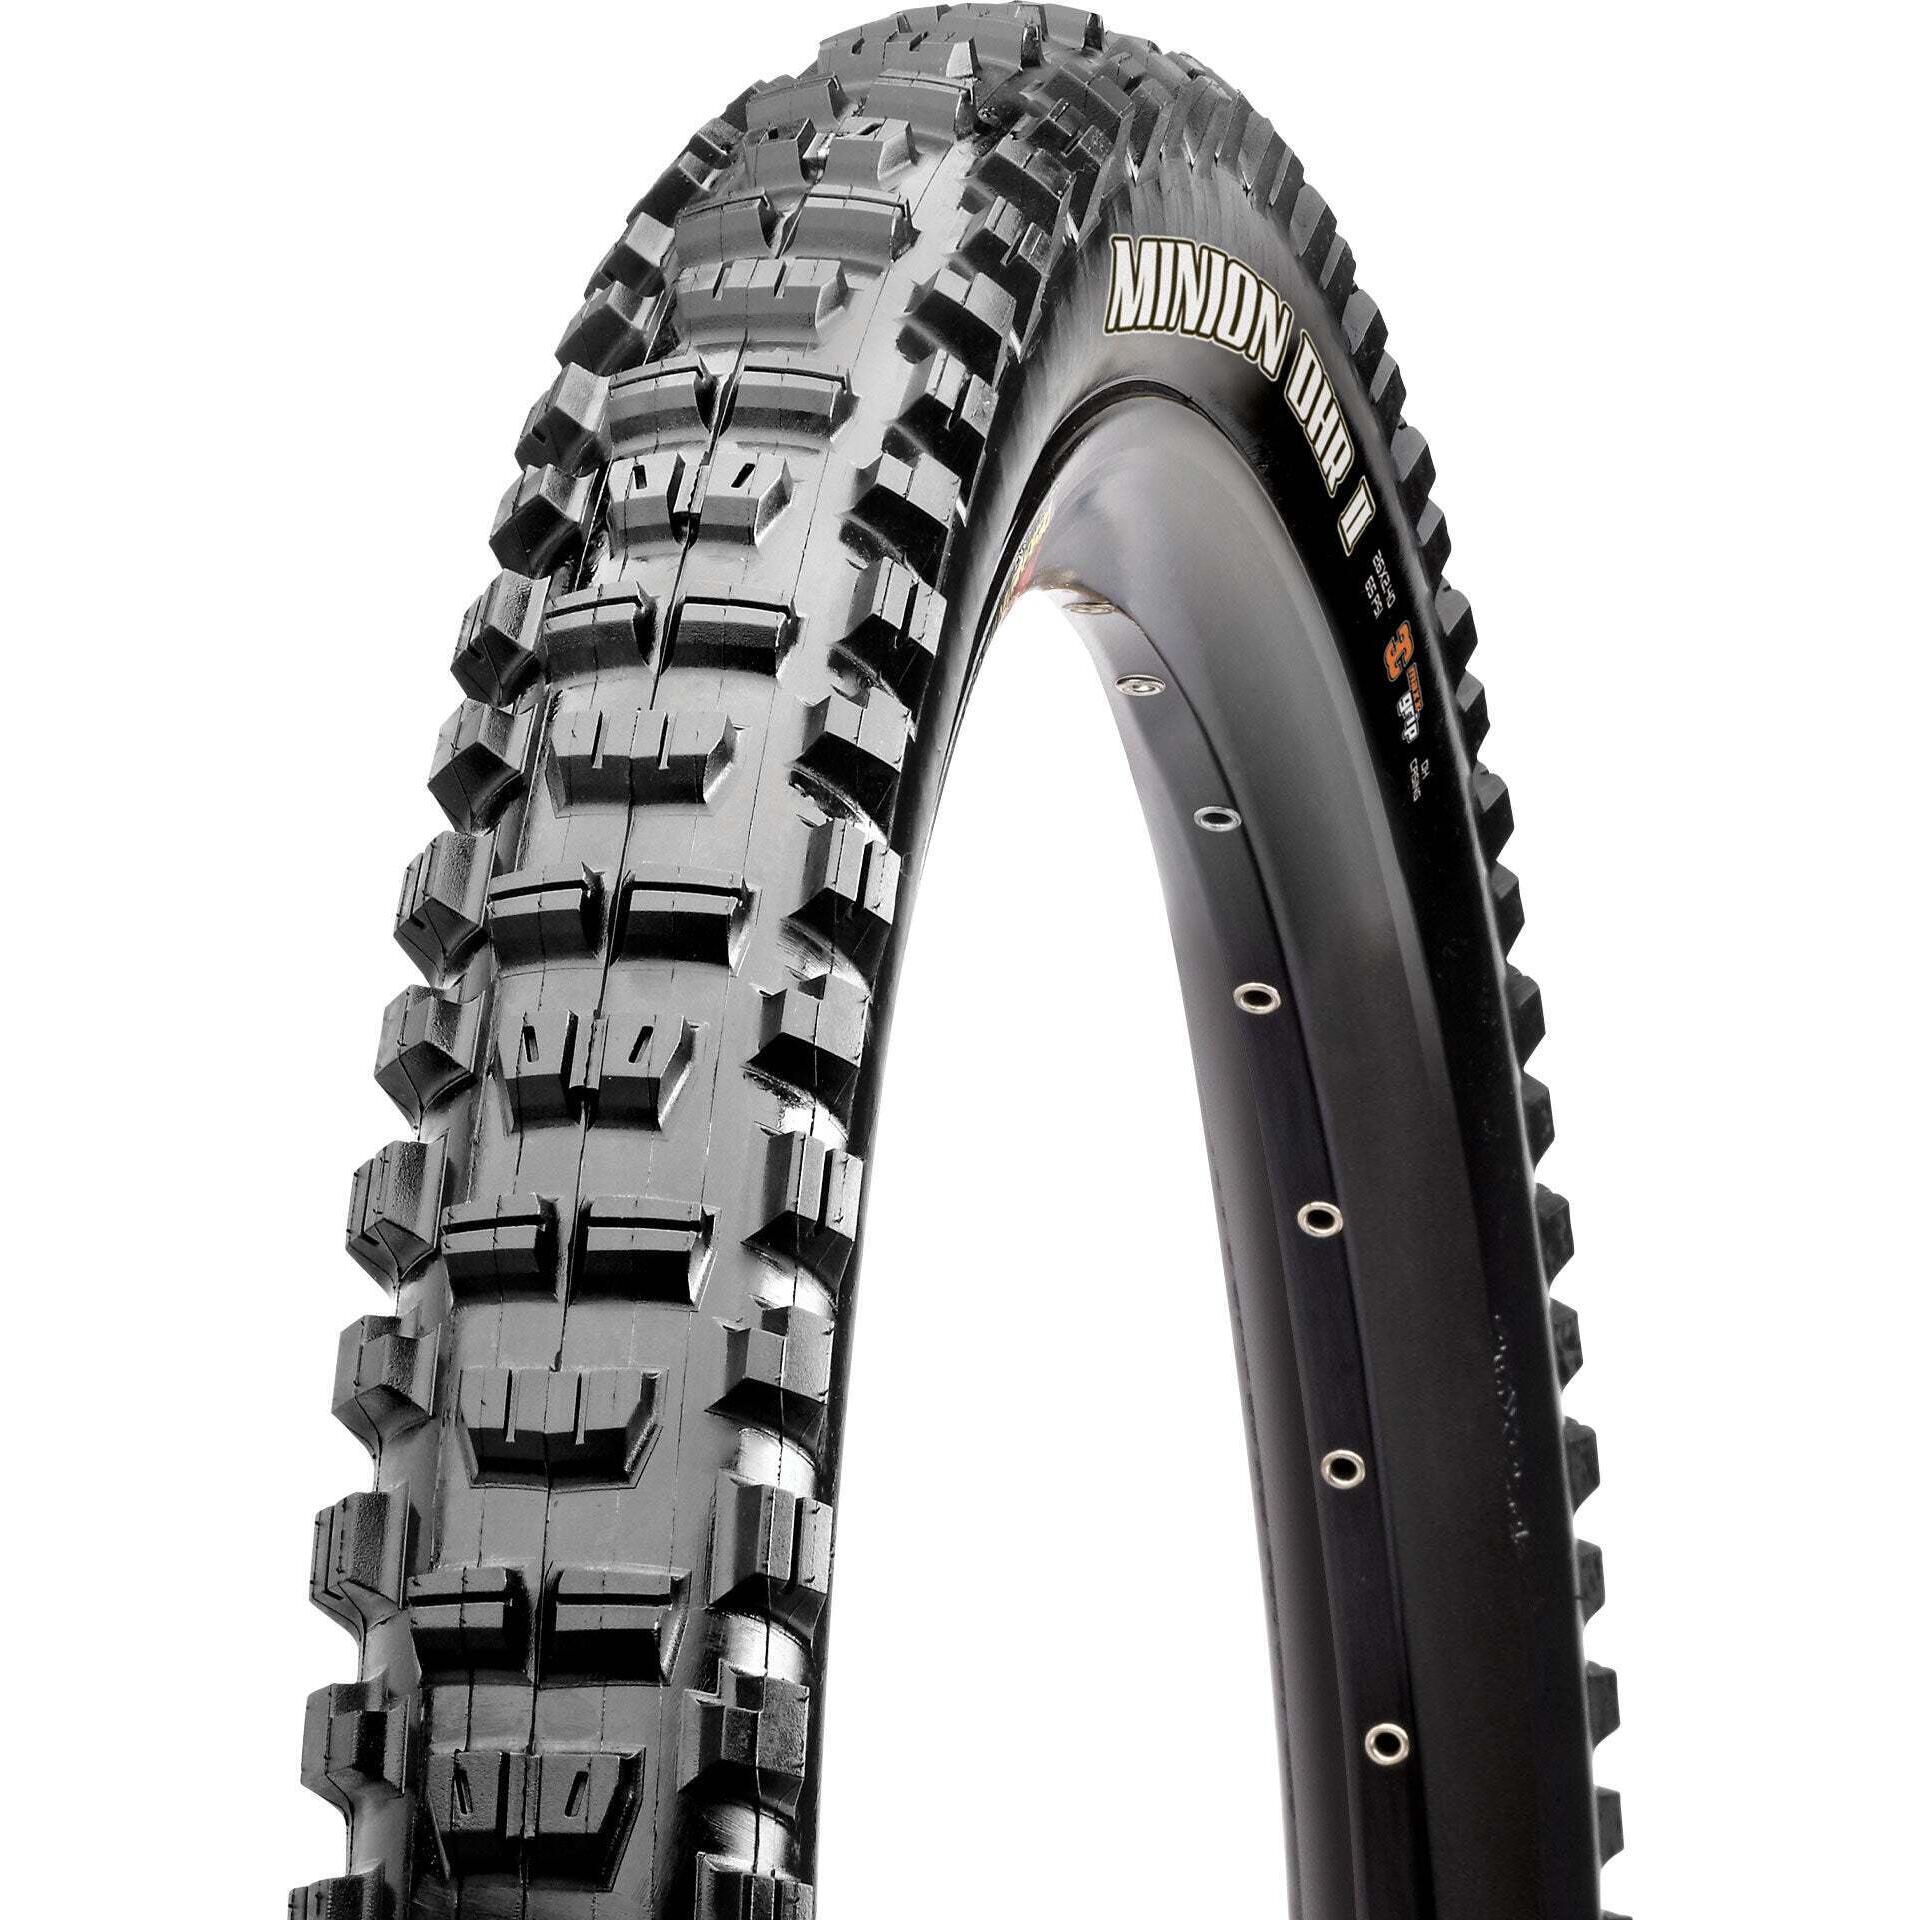
Dirt Bike Tire Guide

The type of dirt tire makes or breaks a ride offroad. So, pick the right one from the start.

Blank

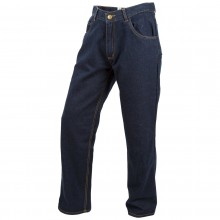
Adventure Motorcycles are Perfect for Canada

Roughly 60% of Canadian roads are unpaved. So, if you're out to explore, pick the ADV.