


4 Mechanical Jobs Every Motorcyclist Should Know
You don't have to be a pro mechanic to master these essential tasks. You'll wish you learned them sooner.
Browse Motorcycle Tools
Dec 20, 2022 — When I talk moto maintenance with new riders, it usually begins and ends with chain lubing and oil changes. But when I mention wheel balancing, spark plug gapping, chain breaking and riveting, a look of fear usually precedes the oh-so-common line "Yeah, I just take it to the shop for that."
Truth is, I had the exact same reaction. But after a bit of tinkering and a lot of swearing (part of the fun), I learned there's really nothing mystical about these 4 mechanical jobs, and knowing them can and will save you a pretty penny in the long run.
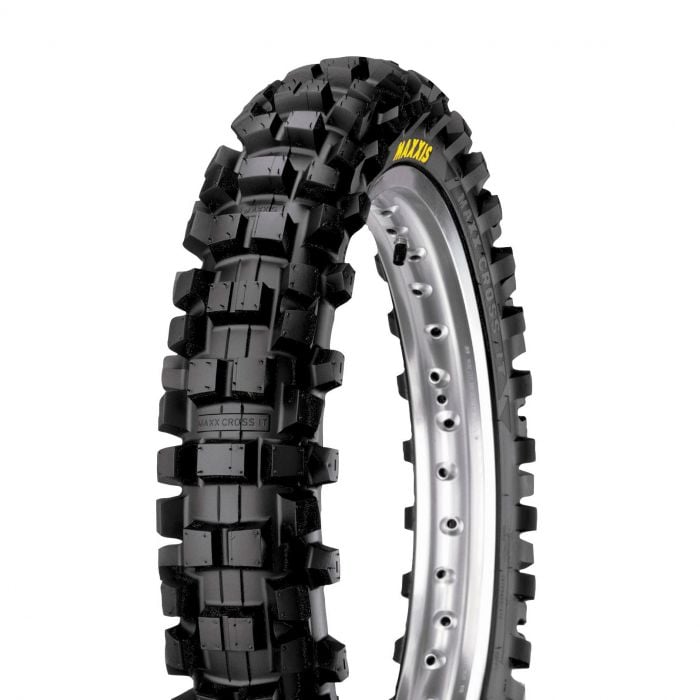
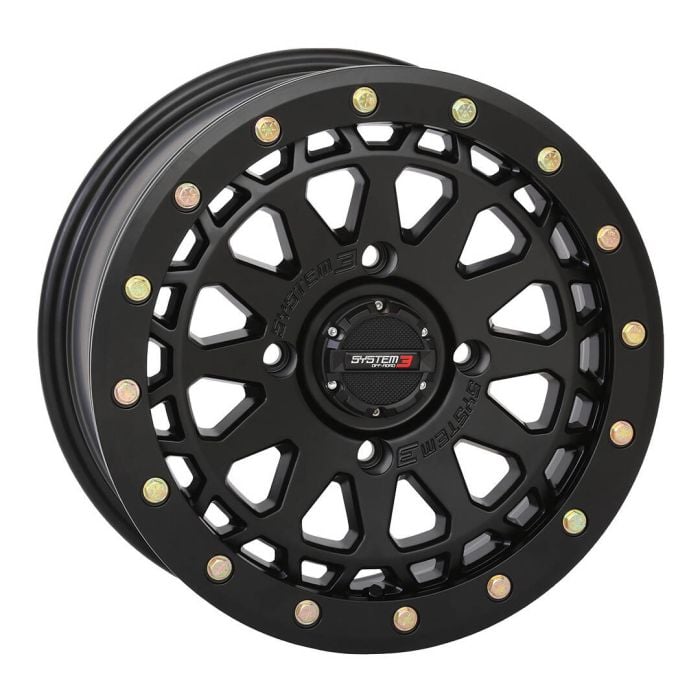
How to Balance a Wheel
If tire changing is a moto 101 pre-req, wheel balancing is the finicky extracurricular. It's not hard.
First, you need a wheel stand. For low speed tires, I can get away with using the existing axle and a couple car jacks. Do my bearings make a frictionless pivot point? No. Is the ground perfectly level? No. Do I need balance to a fraction of a degree? Not with a scrappy adventure tire. Of course, companies like BikeMaster will try to sell you a more refined, tailor-made tool for 150 bucks. And that’s not a bad idea for high-performance wheels.
Imprecise balancing can leave a slight wobble. To most riders it’s unnoticeable, but everything is magnified when you’re riding 200mph on a stiff sportbike. If that’s you, the BikeMaster Wheel Balancer has a precisely straight pinching rod, sitting on rollers with minuscule coefficients of friction, and the whole thing is immovably heavy and perfectly level-able. All I do is give the wheel a little motion, and wait for the heaviest part to settle at the bottom.
Oftentimes, the heavy spot is near the valve, but not always. Now I gradually add weight opposite the heavy point, until the wheel no longer wants to rotate. This is called a static balance. Speaking of which, consider Motion Pro Wheel Weights. They’re heavy and sticky and cheap and basically the same as every other option. Actually, that’s not quite true. These come in especially small 3.5g increments, which is nice because motorcycle tires don’t need much. Less weight, more precision, better balance.
The thick adhesive will also stick to rough cast wheels and smooth spokes alike. Some people put duct tape over top to be doubly sure, but these come in colour-matched black, nickel-plated or silver powder coat… so it seems like a shame to cover ‘em up. And if you are sticking them to a spoked wheel, you can check for rim warp with the wheel balancer’s stylus. Just make sure to do any spoke tension adjustments before balancing.
At this point someone is gonna bring up the bloody beads… Yes a tire can balance itself as it rolls. Yes that means putting tiny marbles in there. Yes they could get stuck in the valve and flatten the tire. Yes they could stick to plugs and patches, making more imbalance than balance… Our advice: if you don't know exactly what you're doing, just keep it simple.
How to Gap a Spark Plug
Now, the gapper is a $2 tool that I didn’t know how to use for an embarrassingly long time. It’s especially shameful because spark plug gappers are important. The distance between my electrodes can cause more horsepower, less horsepower, more fuel consumption, less fuel consumption, more misfires, less misfires… and if I deviate too much from spec, as the pharmaceutical ads say:
In rare cases, symptoms may include death.
Of the spark plug I mean, not you. So here’s how the gapper works — push down on the ground electrode to decrease the gap. Or use the little hole to widen the gap, just like a bottle opener. Speaking of which, the other end of this thing is actually a bottle opener, because no motorcyclist can get through a 30-second task without needing a booze break.
Once I’m good and tipsy (not recommended), I check the gap using these sections of various thickness. The holy book decrees 0.7-0.8mm for my bike, so that’s what I’m trying to hit. There are also round, gradated gapping tools with more measurement options — with units in both metric and imperial... nifty. However, the coin-style gappers are notoriously inaccurate. They look like toonies, they cost a toonie, and a micrometer will prove you get what you pay for.
In contrast, the Motion Pro Gap Tool is criminally overpriced at close to $20. But at least the 0.5 slot is actually 0.5mm thick. The other thing about rotational gappers is there’s always the temptation to widen the plug by positioning it on the tool and twisting until you reach your measurement. That’s bad. See whenever you gap a plug, you should be careful to put the least amount of force on the center electrode. Like a public urinal, don’t touch it if you can avoid it. Because oftentimes this fragile iridium or platinum or will easily succumb to damage.
While you have your plugs out, you might as well compare them to a chart. Legend has it, there’s an old fortune teller living in the Peruvian caves who can discern the symbols of carbon fouling, oil fouling, rich, lean, overheating and the like. But I’m rubbish at that stuff.
And before you stick them back, put the bottle opener to better use and crack some cleaning alcohol. Can’t drink it, but it does prevent my oily fingerprints from causing hotspots.
How to Break and Rivet a Chain
Now, our next tool is 10x more expensive, and 10x more important to be friends with. It's the Motion Pro Chain Breaker and Riveter. And it can save your life. Par exemple, I could break a chain out here — 150km from anything capable of busting off a broken link and replacing it with a spare master. So carry one of these and — more importantly — know how to use it.
Pro tip: practice in a warm garage before doing this in the nerve-rattling, hand-shaking cold of a remote forest.
Step 1 is easy — put together the handle for leverage. Put together the anvil and spring-loaded pin so it cranks down and pulls back once the job is done. Put together the hand crank… and put yourself together.
Mental calm is crucial to chain breaking — or so a Zen philosopher once told me. Popping a rivet puts a ton of pressure on the pin, so I want to crank with the confidence of a baby child. It’s a good thing the Motion Pro has a hand crank rather than a ratchet — lets me feel and sympathize with the pressure on my poor little pin. Speaking of which, I get 3 pins in this set — 2, 3 and 4 millimeters. Though you only need one size for per chain — the right one. But if you snap a pin, it’s nice to know there’s a plan B and C for getting back on the road.
Motion Proverb says these bad boys can break any chain below 520 without grinding the rivet head first. In the field I’d try it, but in the garage I never risk breaking the tool — so I dremelled first. Besides busting a chain, this tool can rivet a master link back together. I recommend buying more masters than you need — they’re 5 bucks and a heavy-handed mechanic will often screw up on the first try.
A heavy-handed rider will also bust chains, so it’s nice to have a spare master out here. The rivet kind too, because they’re stronger than the clip ones. Motion Pro cleverly designed the pinch plates to only fit the right way round — so it's as close to idiot-proof as it can be. Then, just put it around the master and ratchet like a baby child.
Small turn, second guess myself. Small turn, third guess myself. Keep checking for alignment and free movement as you go. Ideally, you’ll know your plates are tight enough when the callipered width matches spec. Of course, not every chain makes it clear what spec is, so here are a couple aide-mémoires:
- If you can just see the hollow rivet points above the plate, you’ve probably gone far enough.
- If the chain is binding — meaning it comes off the sprocket stiff and kinked — you’ve gone too far and the master is toast. Break it and start again. Good thing we bought a spare...
Final step! Install the riveting anvil, which does hollow points only… and crank it down like a baby child until you flatten the rivet head. I usually smoosh until the diameter of my rivet matches the factory ones.
And that’s it — job done. Good practice is to re-lubricate the tool for next time — because the factory stuff doesn’t last — and then return the pieces to its carrying case. Motion Pro does make a slightly smaller tool without the case, but that’s 25 bucks I’d rather not save. As it is, this tool is just beefy enough for moto chains while still compact enough to carry on a motorcycle. It’s uniquely well-suited for our use, if not uniquely well made. So best to avoid the cheaper one.
How to Check Wheel Alignment
Now that we’ve messed with our chain and adjusted the tension, our rear wheel could be off-line with the front or off parallel. Both create dangerous handling quirks. And for two — it’s really easy to check alignment. All you need is a string, a ruler and some tape. Anything that the shops do on a thousand dollar machine, yet can be done by raiding a kindergarten arts and crafts room, is worth learning.
- First, wrap the string around the rear wheel.
- Second, pull the strings to the front and secure them on the ruler at the width of the rear tire. I’m running a 220 back there so my strings are 220mm apart.
Now wedge the ruler against the front tire and adjust it back and forth until both strings touch the leading sidewall of the rear tire. At this point, we have two parallel lines indicating the rear tire’s alignment. If it matches the front, the midpoint of the rear tire should sit on the midpoint of the front.
In the same way, the distance between the front sidewall and the string should be equal on both sides. Any small misalignment will be easily visible — so if you’re off by centimeters at the front, adjust by millimeters at the back and reassess. And that’s it! 4 mechanical jobs I didn’t know, but were really worth learning.
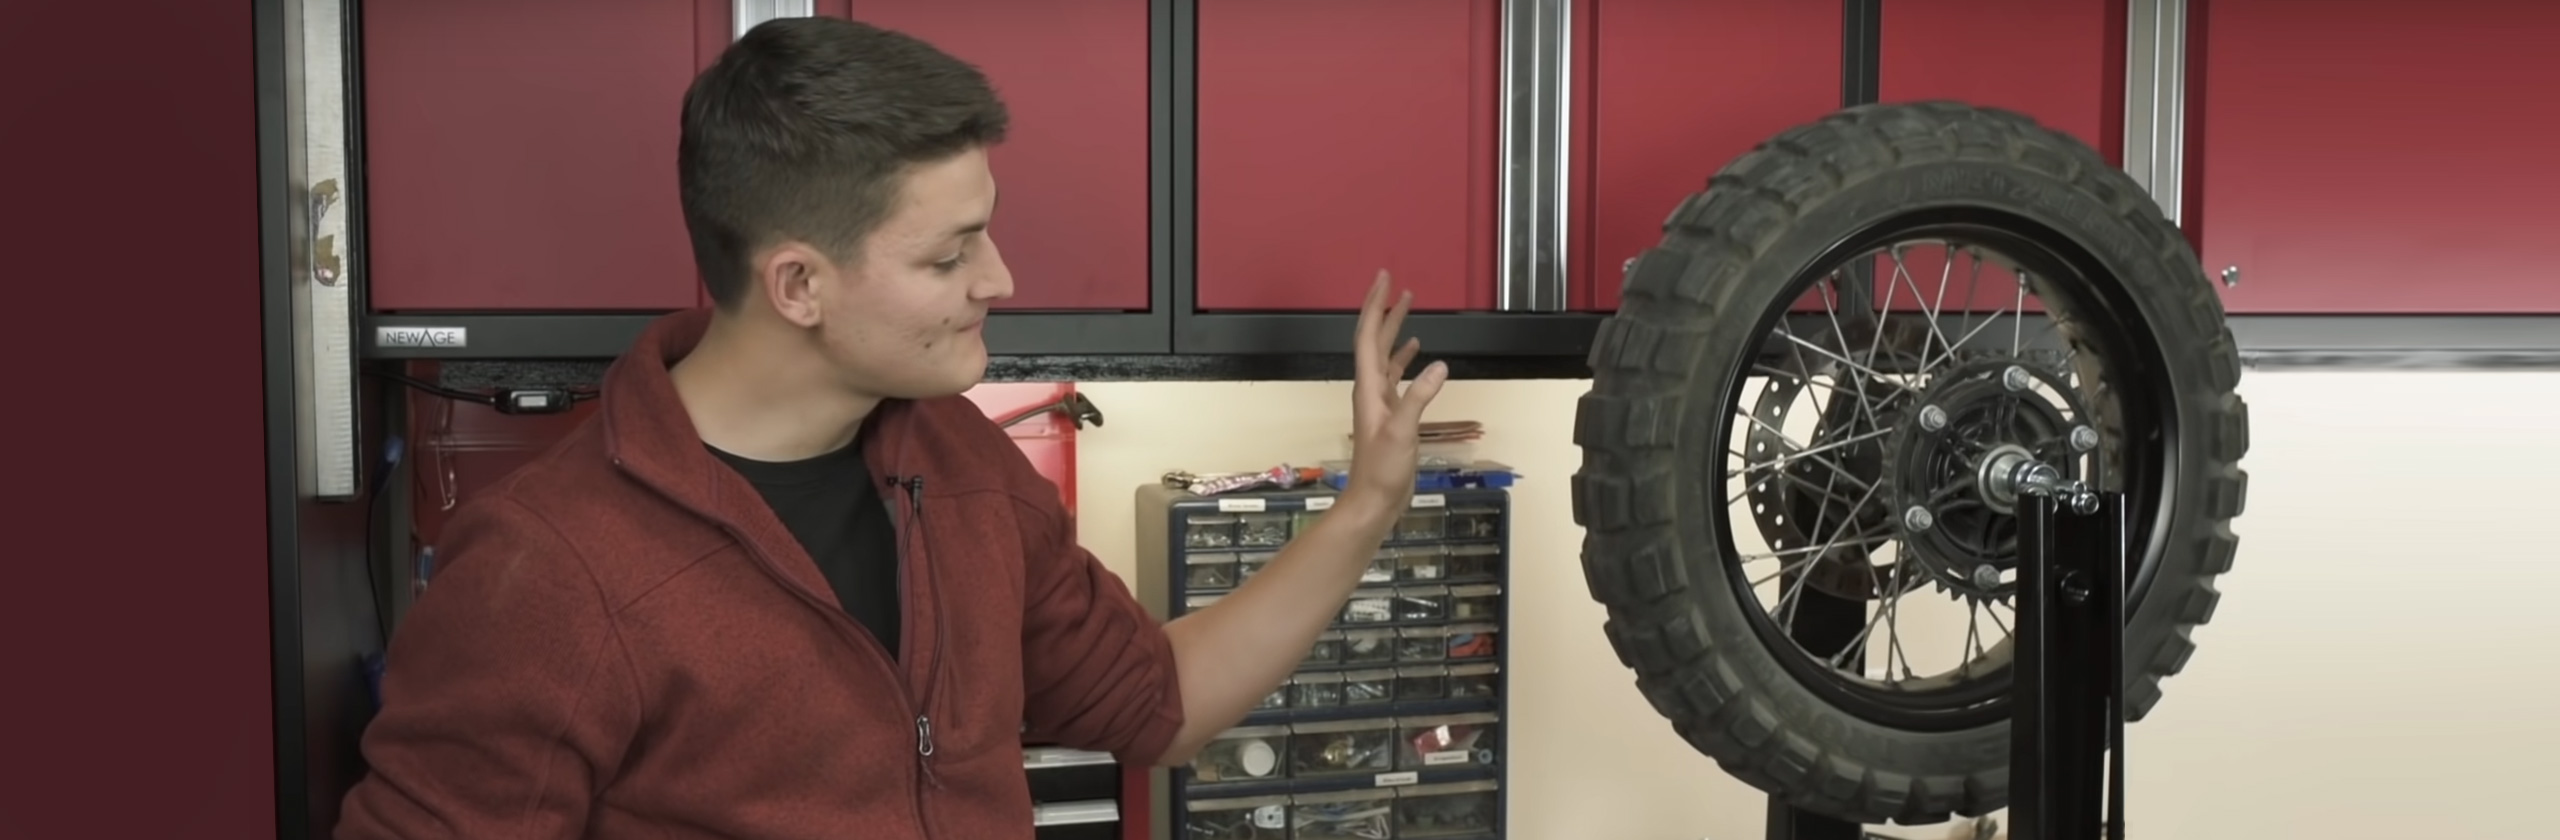
Watch Now | 4 Mechanical Jobs Every Motorcyclist Should Learn
Ryan sucks at mechanics. Even still, he eventually mastered these essential tasks that every motorcyclist should learn. Have you?
Related Articles

The Cost of Motorcycle Helmets: Cheap vs Expensive
How much should you really pay for a motorcycle helmet?

A Guide to Motorcycle Gear Ratios
Everything you need to know about gear changes and ratios. Fine tune the power delivery to your rear wheel.

How to De-Winterize Your Motorcycle
De-winterizing your bike is the subtle prelude to an epic riding season. Don’t skip it!