


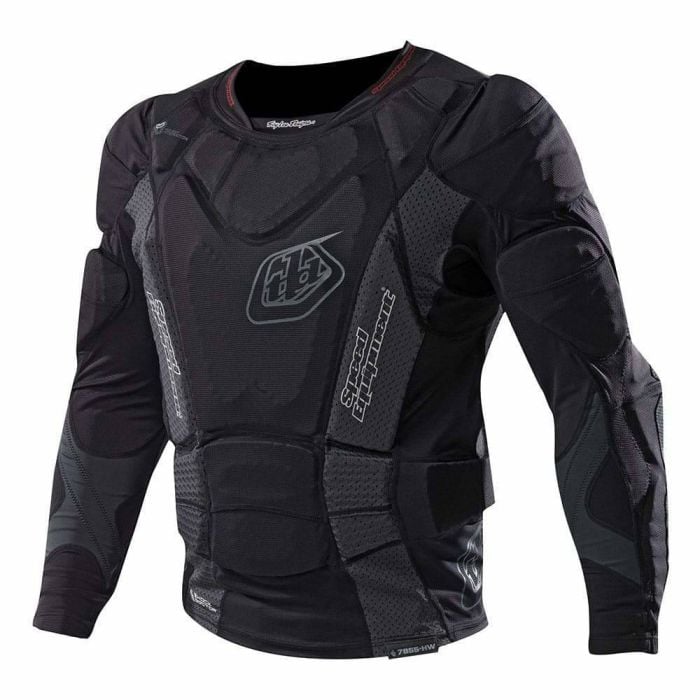


Armored Tops
-


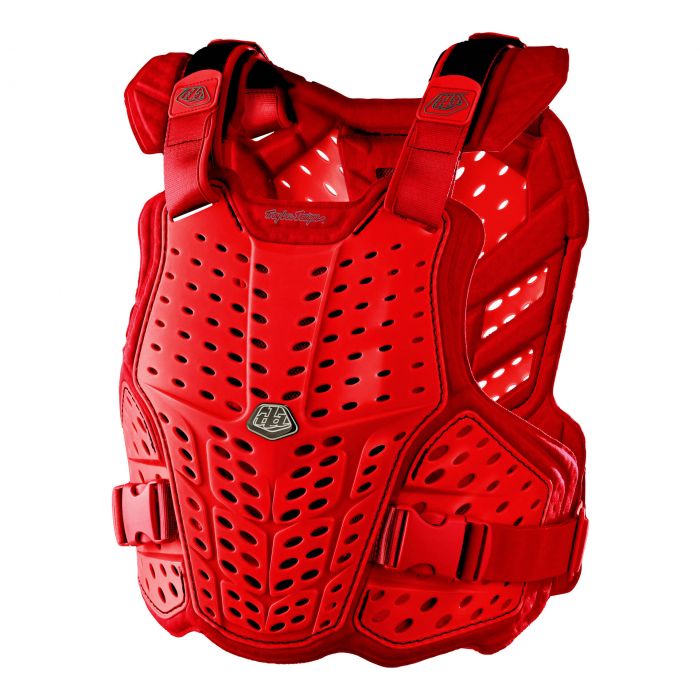
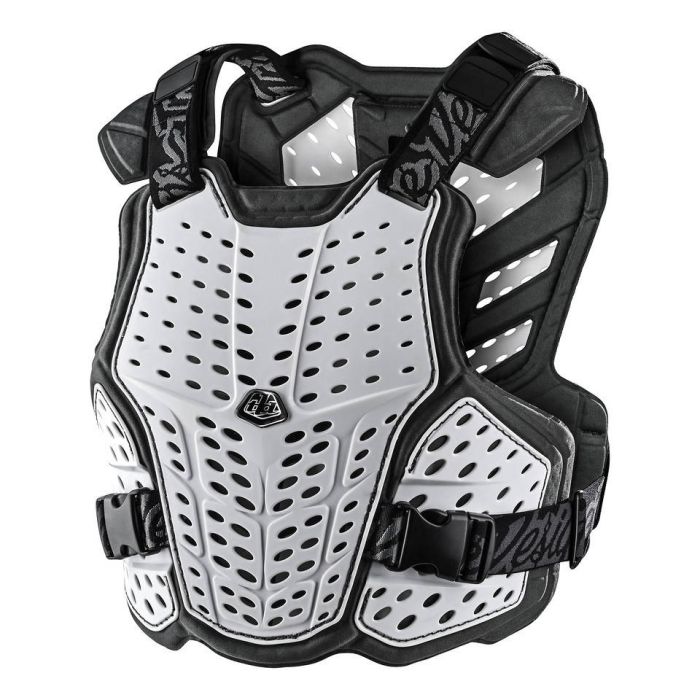
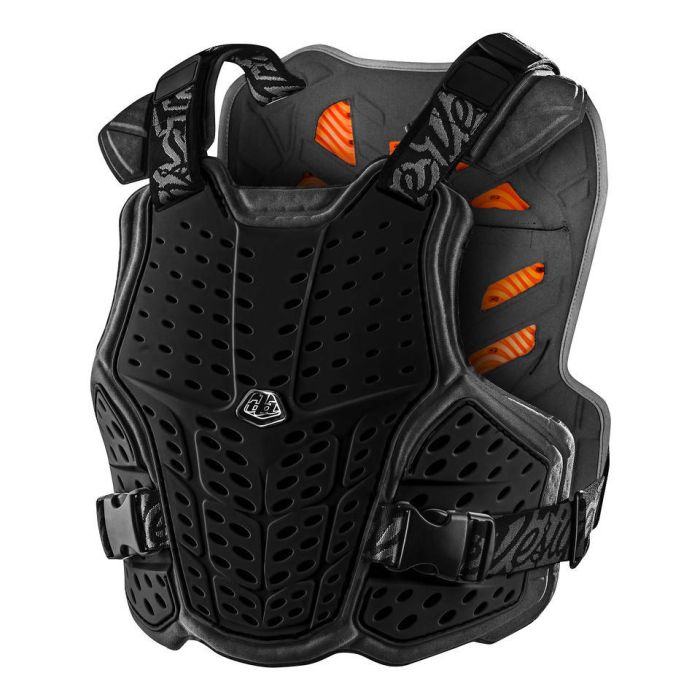
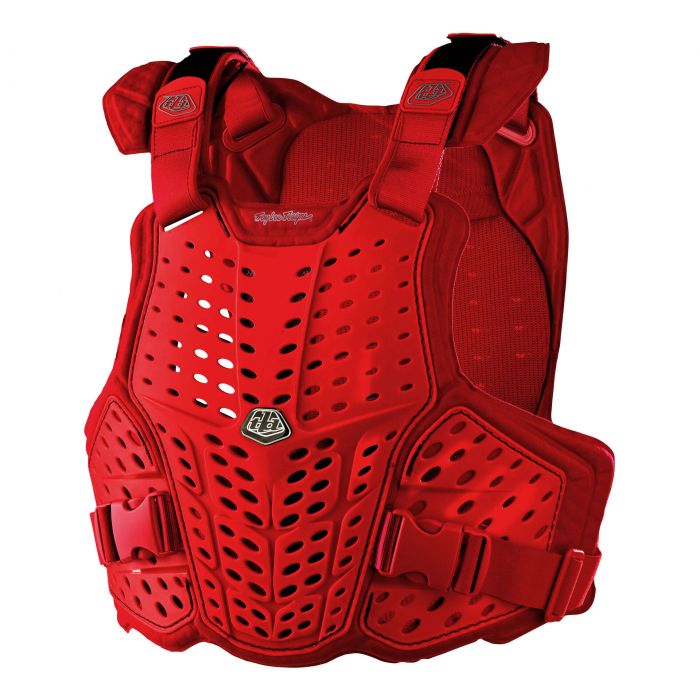
Troy Lee Rock Fight Chest Protector
$149.99 - $159.99 -


Fox Racing Titan Sport Armored Top
$239.95 -
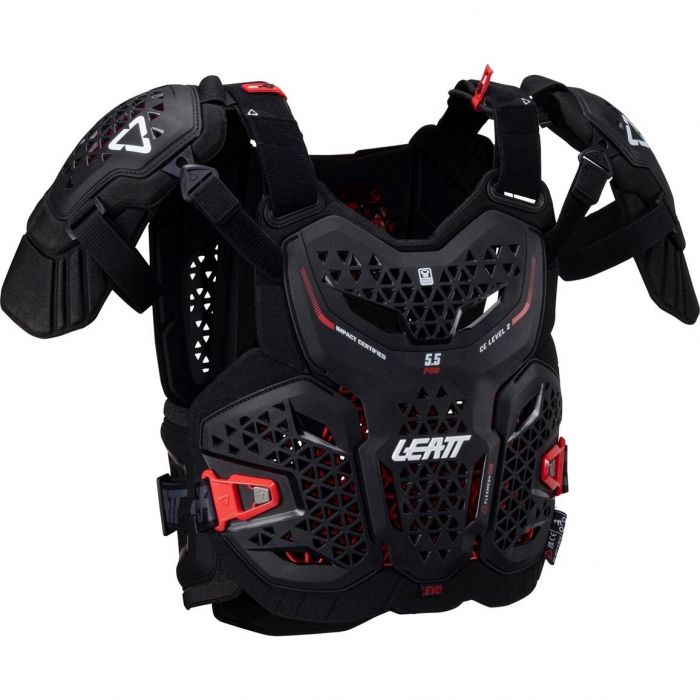
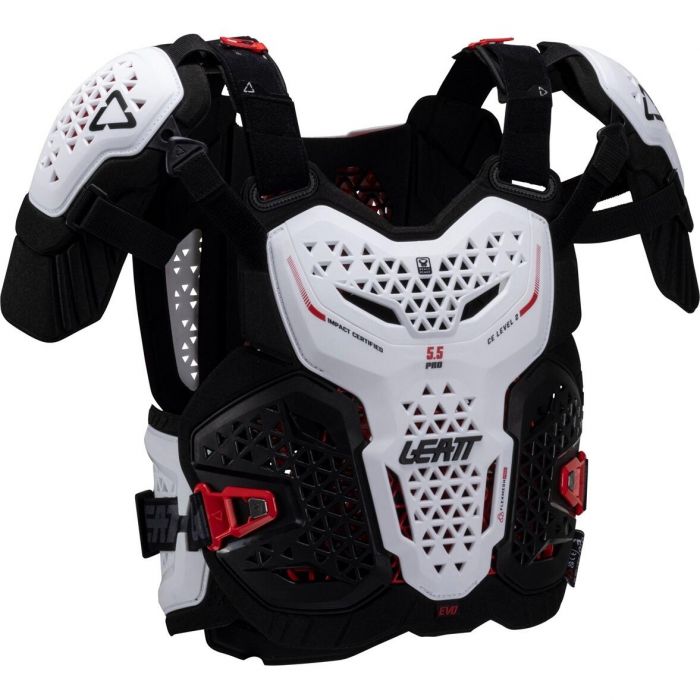
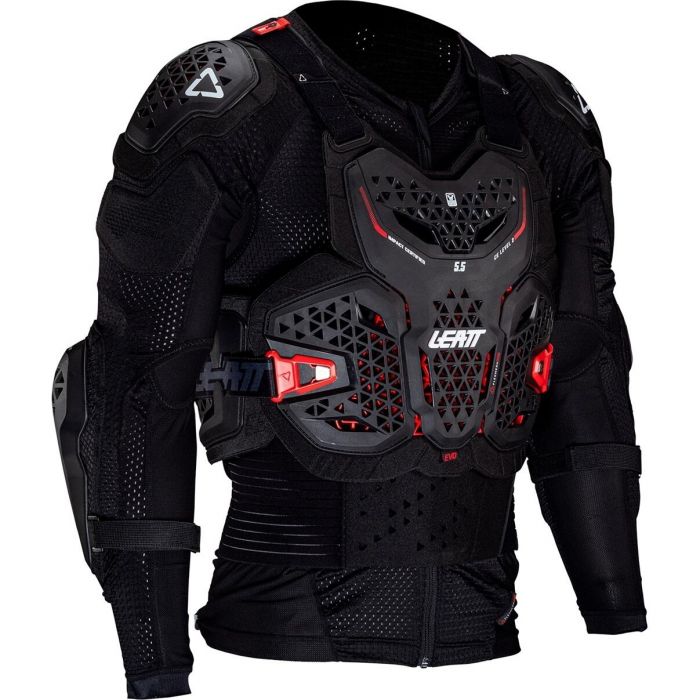
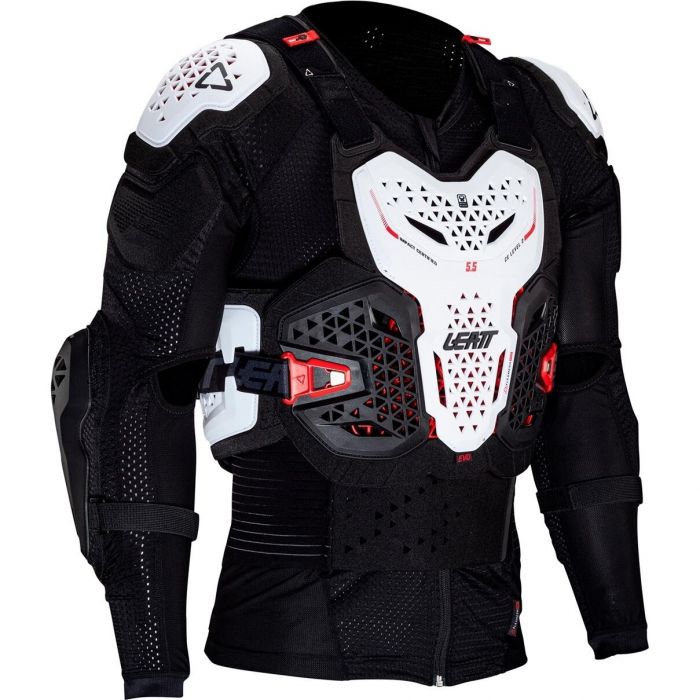
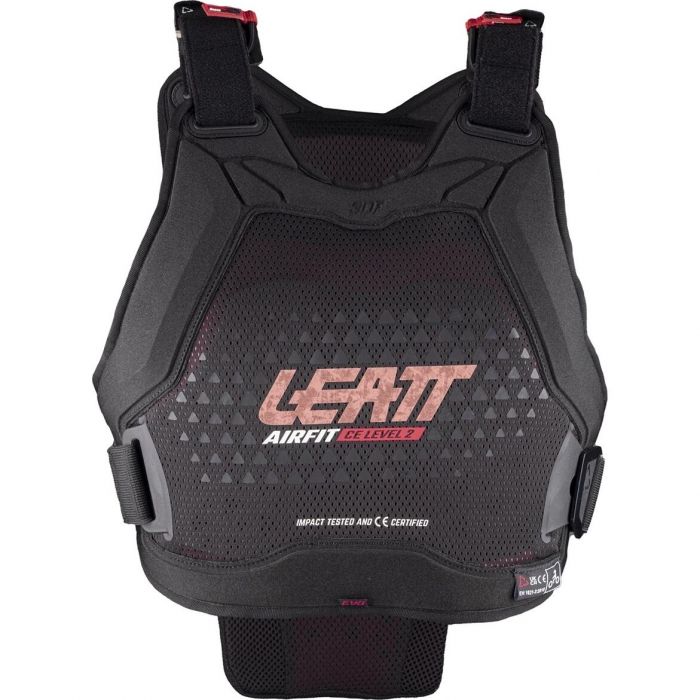
Leatt 5.5 Pro EVO Chest Protector
$384.99 -

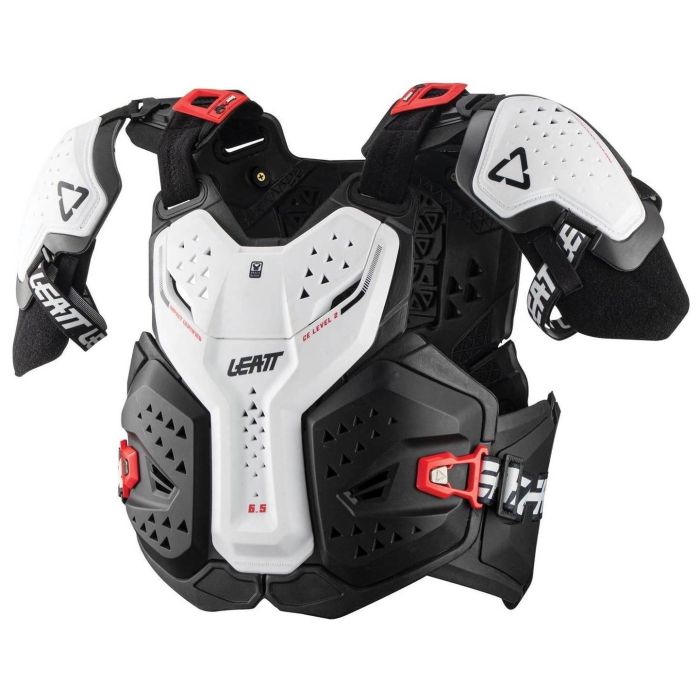
Leatt 6.5 Pro Chest Protector
$444.99 -


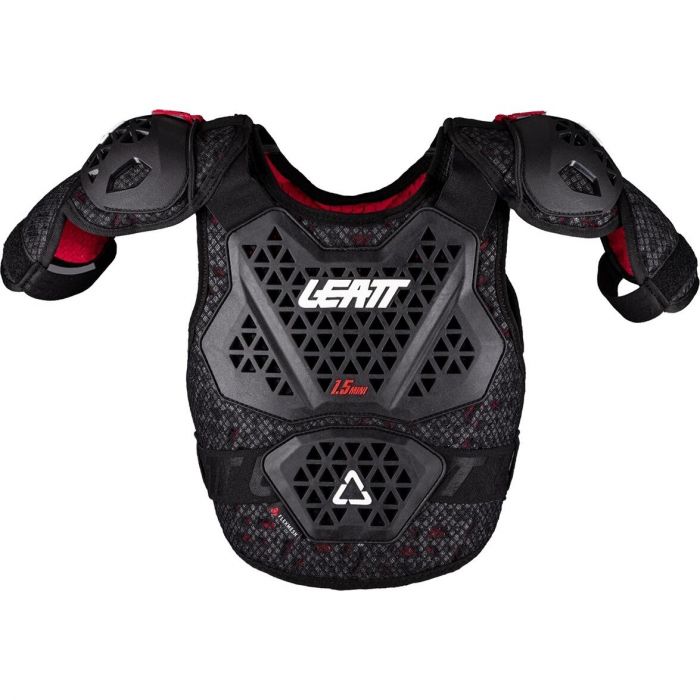
Leatt Youth Fusion 2.0 Chest Protector
$429.99 -
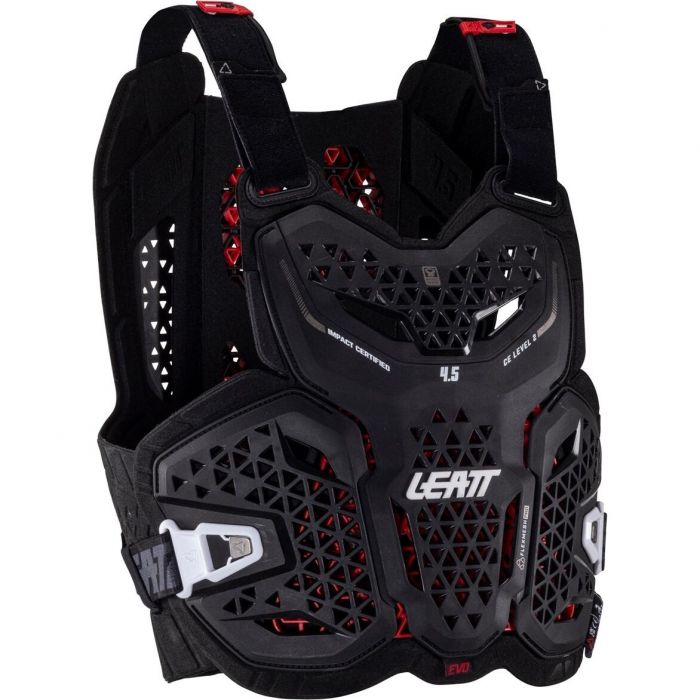
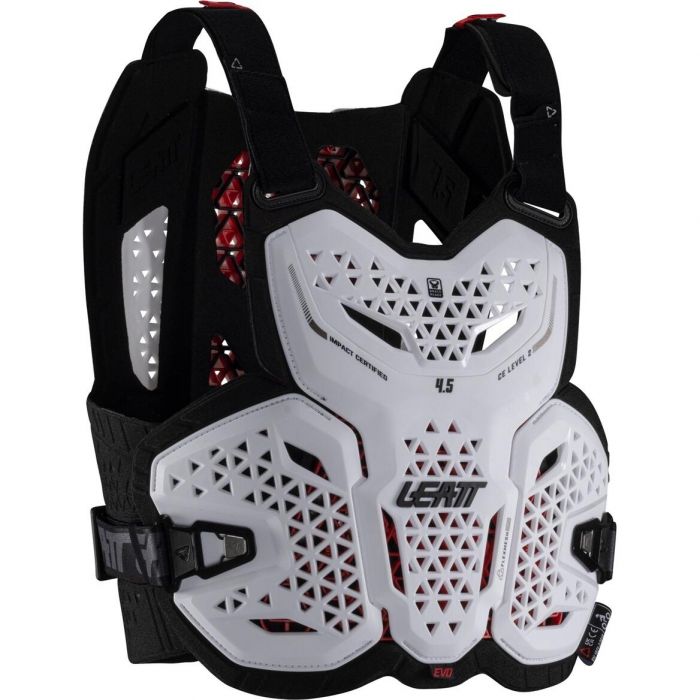
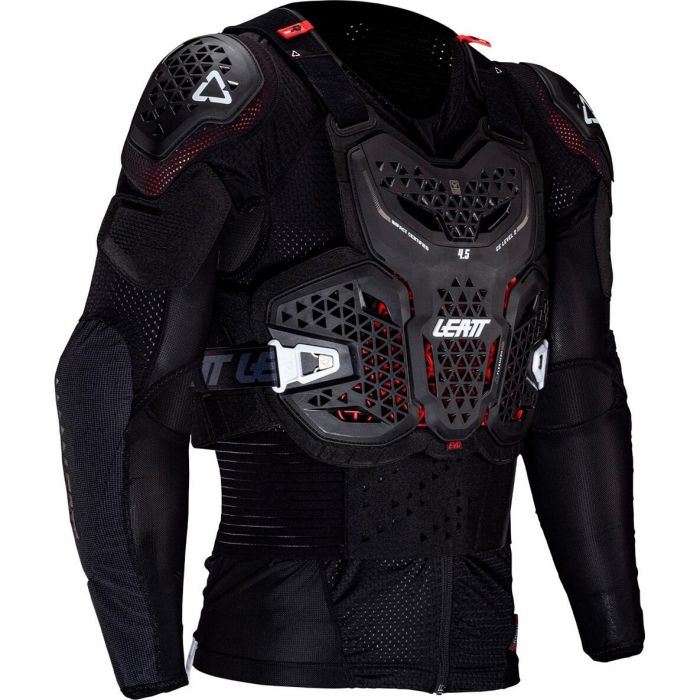
Leatt 4.5 EVO Chest Protector
$264.99 -

Leatt 6.5 Armored Top
$599.99 -

Leatt Womens Reaflex Chest Protector
$294.99 -

Leatt Womens 4.5 Jacki Pro Chest Protector
$299.99 -
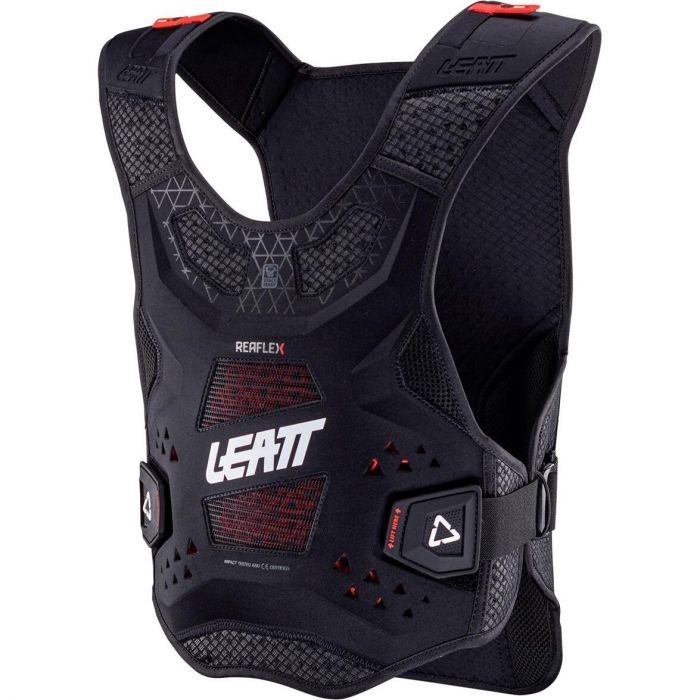
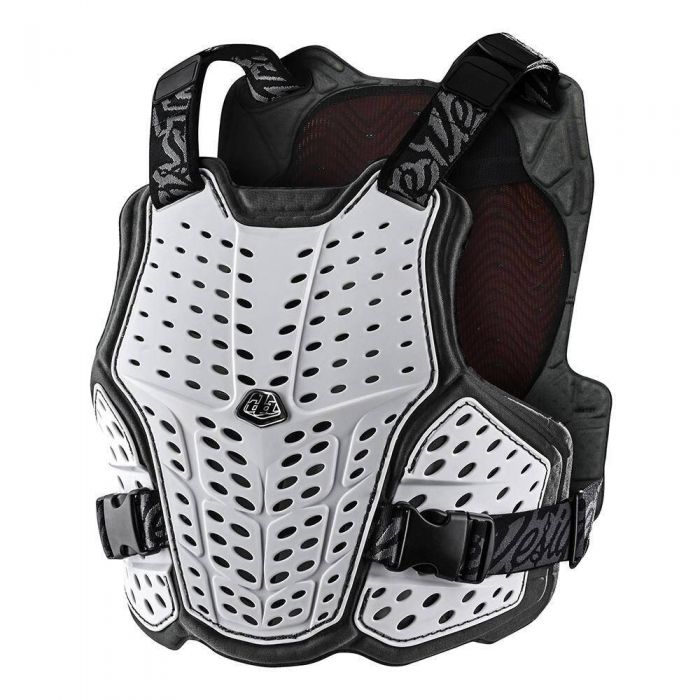
Leatt Reaflex Chest Protector
$294.99 -
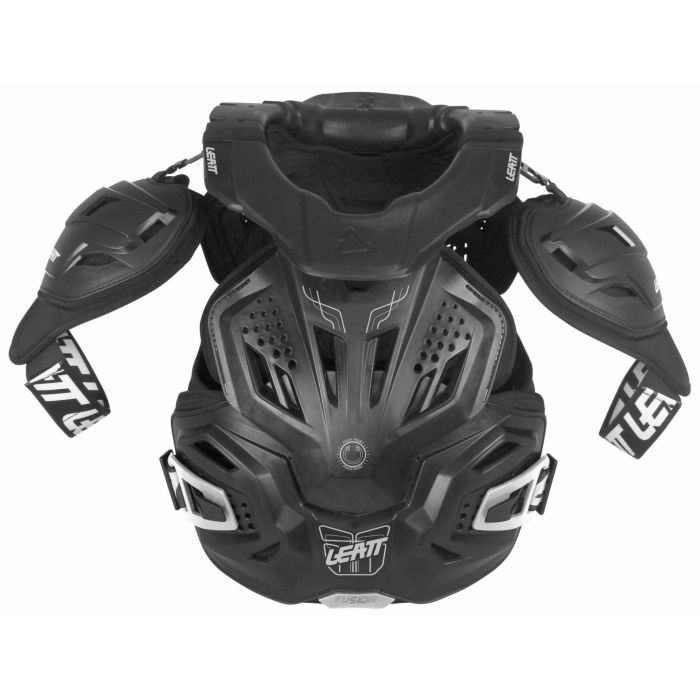
Leatt Reaflex Armored Top
$534.99 -


Troy Lee Rock Fight CE Chest Protector
$209.99 - $219.99 -
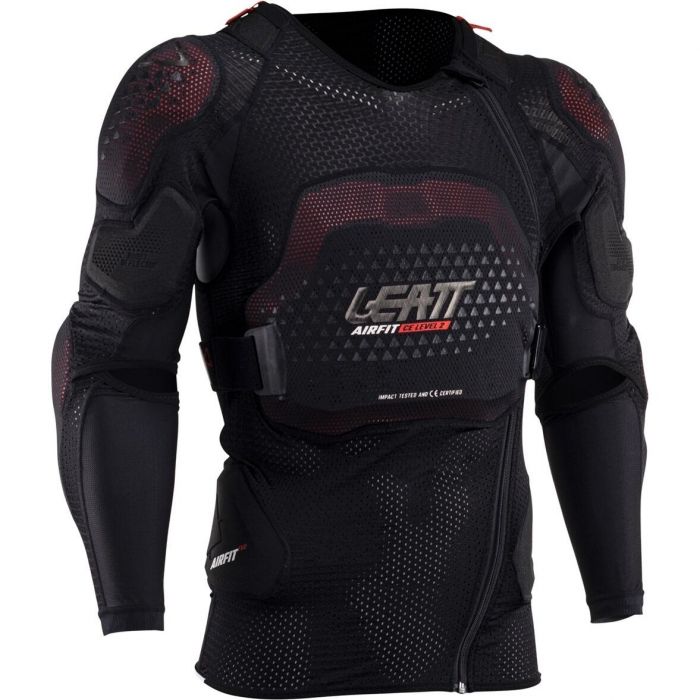
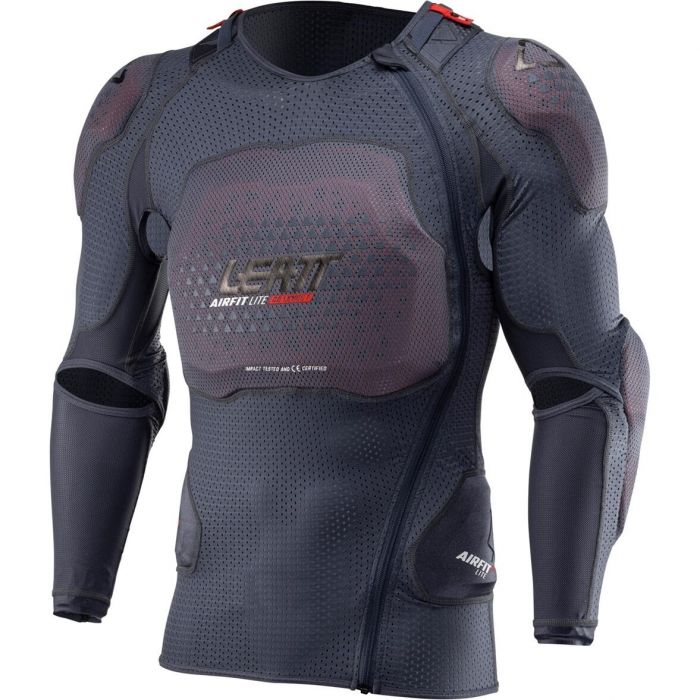
Leatt 3DF Airfit EVO Armored Top
$444.99 -

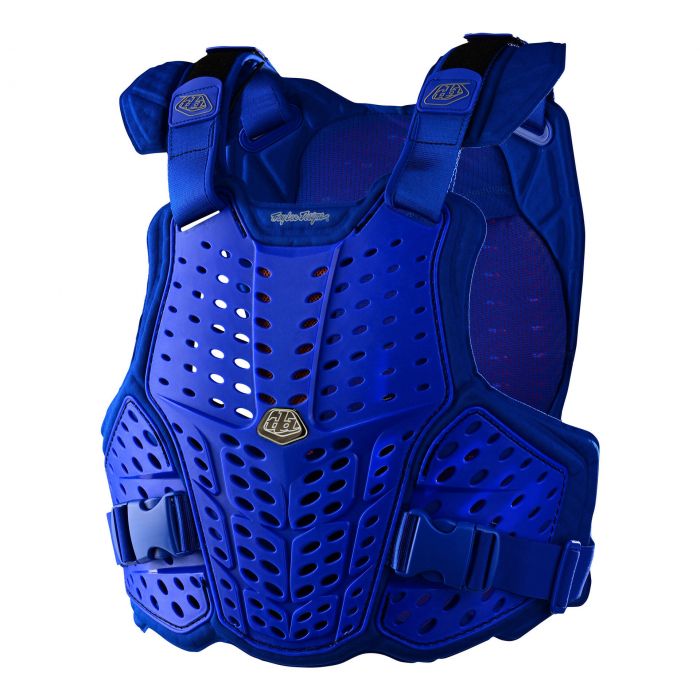
G-Form MX360 Armored Top
$239.99 -
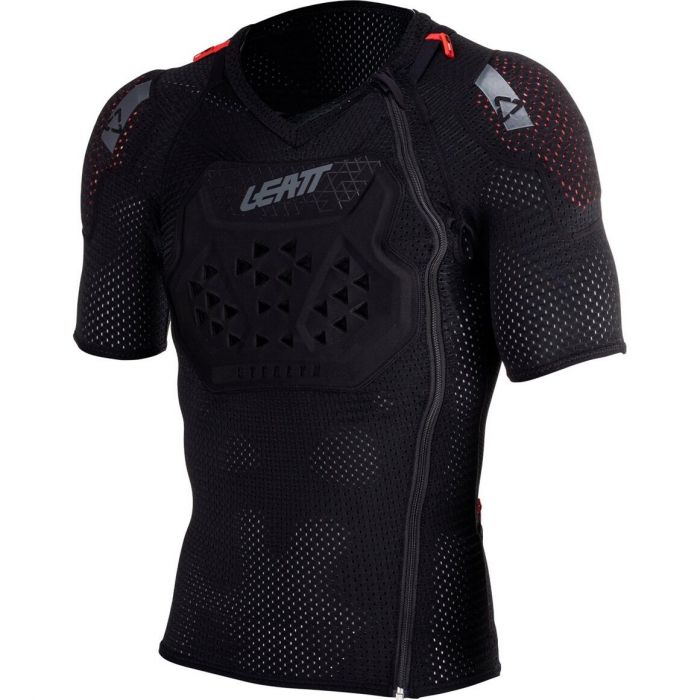
Leatt Reaflex Stealth Armored Top
$354.99 -
Troy Lee Youth Rock Fight Chest Protector
$119.99 - $129.99 -

Leatt 3DF Airfit Hybrid Armored Top
$534.99 -
Leatt 5.5 EVO Armored Top
$534.99 -

Troy Lee Rock Fight CE Flex Chest Protector
$199.99 -
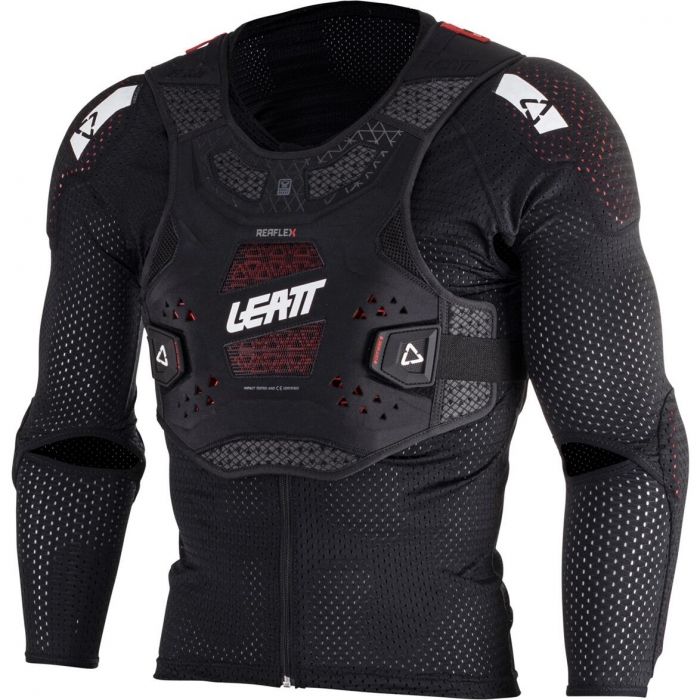
Leatt Reaflex Stealth Long Sleeve Armored Top
$444.99 -


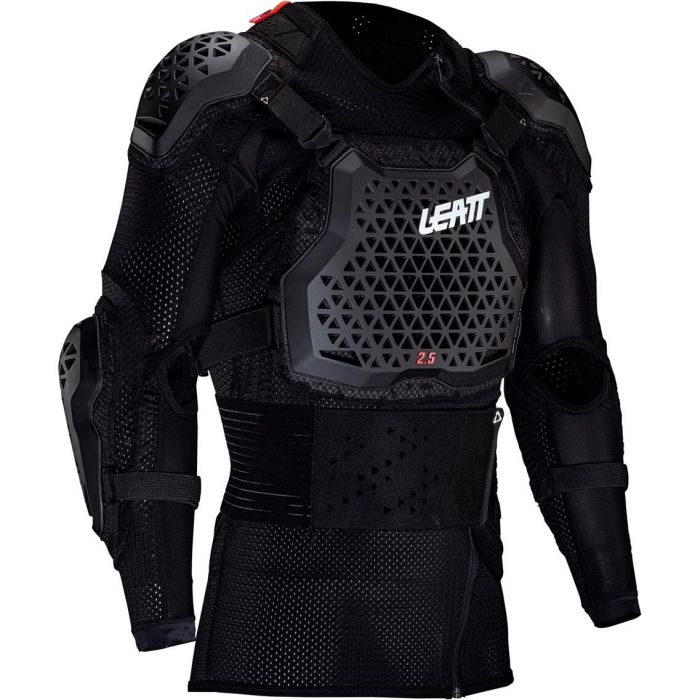
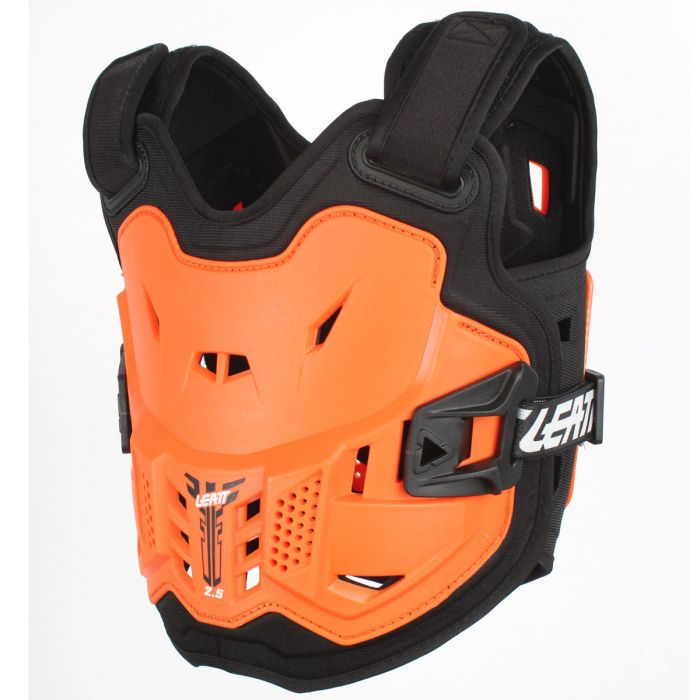
Leatt 2.5 Chest Protector
$194.99 -

Leatt 4.5 Hydra Chest Protector
$379.99 -

Leatt 3DF Airfit EVO Chest Protector
$249.99 -
Leatt 3DF Airfit Lite EVO Armored Top
$399.99 -

Leatt 3DF Airfit Lite EVO Chest Protector
$239.99 -
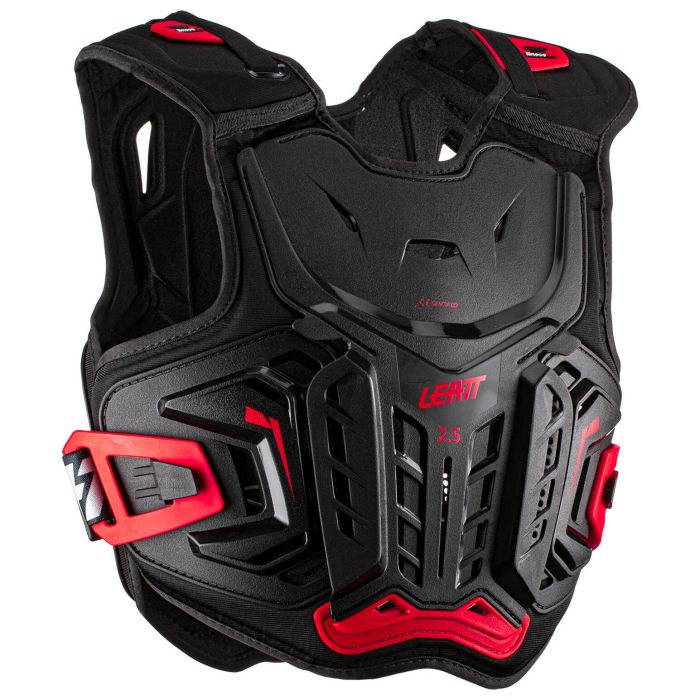
Leatt 2.5 Armored Top
$279.99 -

EVOC LS Flex Chest Protector
$249.99 -

Leatt Womens 4.5 Hybrid Body Protector
$474.99 -

Troy Lee Stage Ghost D3O Protective Base Layer Shirt
$319.99 -

Troy Lee Stage Ghost D3O Long Sleeve Protective Base Layer Shirt
$389.99 -
Leatt Youth 4.5 Hybrid Body Protector
$294.99 -
Leatt Kids 2.5 Chest Protector
$134.99 -

Leatt Womens Reaflex Armored Top
$534.99 -
Leatt 3DF Airfit Lite EVO Long Sleeve Armored Top
$429.99 -
 15% off

Leatt 5.5 Pro HD Chest Protector
$379.99$322.99 -

Leatt Youth 2DF Airfit Pro Chest Protector
$179.99 -
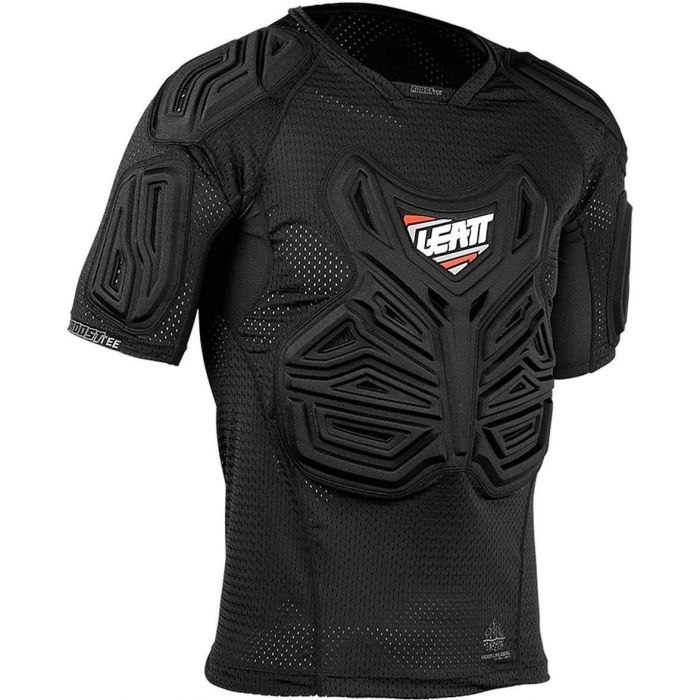
Leatt Roost Armored Top
$149.99 -
 15% off

Leatt Youth 2.5 Chest Protector
$145.99$124.09 - $139.99 -
Leatt Womens 3DF Airfit EVO Chest Protector
$249.99 -

Leatt 3.5 Pro Chest Protector
$249.99 -
Leatt 4.5 EVO Armored Top
$444.99 -

Leatt Youth 5.5 Pro Chest Protector
$274.99 -

Leatt Youth 4.5 Pro Chest Protector
$244.99 -
Leatt Youth 4.5 Hybrid Pro Chest Protector
$249.99 -

Leatt 3.5 Armored Top
$384.99 -

Troy Lee Stage Ghost D3O Protective Base Layer Vest
$249.99 -
Leatt Youth 1.5 Pro Chest Guard
$59.99 -
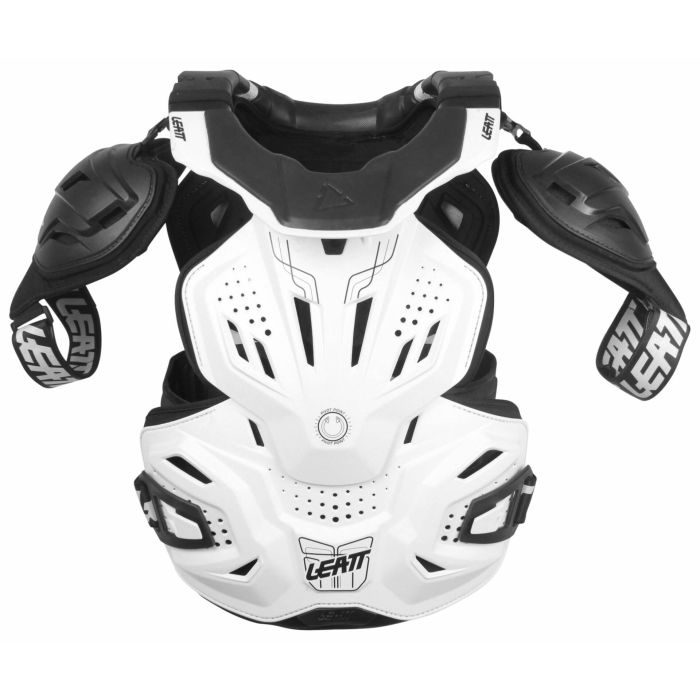
Leatt Fusion 3.0 Chest Protector
$715.99
About Armored Tops
For riders who have hit the ground hard enough to start doing math. Use this guide to choose the right upper-body MTB armour for your speed, terrain, and tolerance for heat.
1. Mountain Bike Armoured Top Types (and When to Use Each)
| Type of Mountain Bike Armoured Tops | Terrain or workload | Core demands | What matters most |
|---|---|---|---|
| Soft armour base layer shirt | Trail and Enduro days where you still have to pedal. Repeated low to medium speed falls | Breathable impact absorption that moves with you | A real back protector rating, stable fit under a jersey, ventilation that does not turn you into soup |
| Hard shell chest and back roost guard | Fast descents, loose rock, bars and trees, uplift days | Deflection and coverage when impacts are sharp and ugly | Coverage area, secure strap system, enough ventilation to not quit riding early |
| Full upper body armour jacket (pressure suit style) | Downhill, freeride, racing, crashes that include cartwheels | Maximum coverage including shoulders and sometimes ribs | Coverage that stays put, mobility at shoulders, heat dumping, compatibility with neck brace or full face helmet |
| Hydration integrated protector | Long park days where you want one system, not a protector plus a pack plus straps everywhere | Carrying water without turning your protector into a torture device | Pack weight distribution, strap routing, how the back protector behaves under load |
2. MTB Armour Safety Standards and Certifications
- CE and the EN 1621 series are the closest thing to a universal language for impact armour. Even though EN 1621 was written for motorcycle PPE, the same inserts and certifications show up in cycling protection because it is a real lab test, not a vibes based promise.
- EN 1621-2 (back protectors) is the key standard for MTB armored tops. Back impacts on rocks and roots are common, and this standard defines two performance levels. Level 1 allows higher transmitted force than Level 2.
- Back protector Level 1 vs Level 2 is a meaningful jump. Level 1 targets a mean transmitted force below 18 kN, Level 2 targets below 9 kN (with limits on single hits too). Lower transmitted force is the whole point.
- EN 1621-1 covers limb joint protectors (shoulders, elbows). If your armored top includes shoulder caps, look for this number. Two performance levels exist, and lower transmitted force is better.
- EN 1621-3 covers chest protectors. Level 1 is force transmission only. Level 2 adds force distribution requirements, which generally means more rigidity or structure.
- Meeting the standard isn’t the same as best protection. Passing a standard only proves it survived a specific test setup. It does not guarantee coverage where you actually hit the ground, nor does it guarantee comfort, stability, or heat management. If the protector shifts, the rating becomes trivia.
3. Key Features and Trade-Offs in MTB Armored Tops
| Feature | Benefit in the real world | Downside you pay for |
|---|---|---|
| CE rated back protector (EN 1621-2) | The one insert most likely to downgrade a bad spine day into a bruised ego | More bulk and heat. Level 2 usually feels thicker and stiffer |
| Chest protection (EN 1621-3) | Helps with bars, trees, and “I landed on my sternum” moments | Ventilation and comfort suffer fast if the chest panel is too rigid |
| Hard shell panels vs soft armour | Hard shell deflects sharp hits and spreads point loads. Soft armour conforms and is easier to pedal in | Hard shell can feel clunky and hot. Soft armour can feel reassuring until you hit something pointy |
| Coverage map (ribs, collarbone, shoulders) | More coverage means fewer surprise injuries from weird angles | More coverage means more restriction, more sweat, more strap drama |
| Strap system and waist belt | Keeps armour in place when you ragdoll. Prevents the protector from riding up | Hot spots under pack straps. Annoying to adjust. Easy to overtighten and restrict breathing |
| Ventilation and spacer mesh | The difference between “I wore it all day” and “it lives in the closet” | More mesh and openings can reduce durability, and it can snag or tear |
| Compatibility with packs and neck braces | Prevents your backpack from turning into a lever on your spine guard. Helps if you run a brace | Compatibility often requires removable inserts or specific shapes, which can add complexity |
4. Comparing Mountain Bike Armour Design Options
- Option A: Hard shell (roost guard style)
- Ideal user: bike park, downhill, shuttle laps, riders who hit rocks at speed
- Strengths: great at deflecting sharp impacts, usually broad coverage, durable outer
- Limitations: heat, bulk, and sometimes poor pack comfort
- Option B: Soft armour (base layer or vest with viscoelastic inserts)
- Ideal user: trail and Enduro riders who still climb and want protection they will actually wear
- Strengths: comfort, mobility, fits under jerseys, usually better ventilation
- Limitations: less deflection for sharp point loads, and fit is critical (movement ruins coverage)
- Option C: Hybrid or modular
- Ideal user: wants hard protection zones plus soft conforming areas, or wants removable inserts for brace or washability
- Strengths: best balance when done right, can be more pack-friendly than full hard shell
- Limitations: more parts, more failure points, more ways to fit it wrong
5. Fit, Sizing, and Compatibility for MTB Armored Tops
- If it shifts when you shake your shoulders, it will shift in a crash. Snug is not vanity. Snug is keeping the back protector centred when you hit the ground.
- Back protector length matters. Too short and it misses the lower spine. Too long and it digs into your hips when you bend, which makes you stop wearing it.
- Pack compatibility is non-negotiable for most riders. Shoulder straps should sit on fabric, not directly on hard edges.
- Jersey fit changes everything. Tight jerseys can pull armour out of position. Loose jerseys can snag on shoulder caps and bunch under a pack.
- Neck brace and full face helmet users need a reality check. If the back protector is tall, it can interfere with brace movement or helmet clearance. Look for designs that explicitly allow insert removal or brace clearance.
- Heat, sweat, and mud decide what you will actually wear. If you ride humid summers, prioritize ventilation and quick-drying fabrics. If you ride dusty, open mesh collects grit and turns into sandpaper.
- Youth sizing is not just “smaller adult.” Shorter torsos and narrower shoulders make strap adjustment range and protector length more important than the label.
6. Care, Maintenance, and Lifespan of MTB Upper-Body Armour
- Replace after a serious impact. Cracks in hard shell, permanently compressed foam, or a protector that feels “softer in one spot” are all retirement signals.
- Wash the garment, don’t ruin the armour. Remove inserts when possible, hand-wash or gently wash the carrier, then air dry. Heat is the enemy of elastomers and adhesives.
- Check straps and buckles like you check tire pressure. Loose hardware means movement. Movement means your protection is somewhere else when you need it.
- Do not store it in a hot car. Heat cycling accelerates material aging and warps some plastics.
- If it smells like a biology experiment, fix the drying process. Sweat left in foam and mesh breaks down materials and makes you avoid wearing it.